Changing out your kitchen cabinets, whether as part of a full kitchen demolition, kitchen remodel, or just a cabinet update, can improve the look of your whole kitchen. Even if you are looking to just revitalize your existing cabinets and not replace them completely, it is easier and results in a better end product if you completely remove your cabinets from the walls before painting or refinishing them.
Taking down all your kitchen cabinetry can seem like a daunting project, but it is doable by the average homeowner DIY enthusiast. When we were designing our kitchen remodel, we realized that taking out the cabinets ourselves would save us a lot of money, hundreds of dollars in fact. Kitchen cabinet and countertop demo can cost from $150 to $600, depending on the size of the kitchen, with very large kitchens running closer to $1,000. This frees up more money in your budget to spend on the rest of your kitchen remodel.
Before starting the tear-out, decide on whether you want to save your cabinets or not. You can save your cabinets to refinish them, reuse them in another part of your home like a laundry room or garage, or you can donate them if they are in good condition. If you want to keep or donate them, you will need to take care during the removal process to not damage them.
Continue reading our blog on removing kitchen cabinets.
Step 1: Prep Your Kitchen for Cabinet Removal
Remove everything from your cabinets.
Turn off the water supply. You don’t have to shut off the whole house water supply, but be sure the line to the kitchen sink, your dishwasher, and your refrigerator’s ice maker are off.
Disconnect the electricity, especially if you have a garbage disposal, built-in dishwasher, electric stove, and outlets in the backsplash. Turn the electricity to the kitchen off at the breaker box.
Cover all electrical outlets.
Shut off your gas line using an adjustable wrench if you have a gas oven/stove.
Remove the appliances from your kitchen.
Remove toe-kicks and any molding around the wall and base cabinets.
Lay protective covers over your floor to protect it.
Remove any small fixtures, such as a paper towel holder, a spice rack, or under-counter inset lights from your cabinets.
Remove the range hood or the over-the-range microwave.
Rent a dumpster and have it scheduled for delivery to your home before you start demo work.
Gather your tools and supplies.
Tools to Remove the Kitchen Cabinets
Pry bar
Screwdriver
Putty knife
Utility knife
Hammer
Drill
Blankets or furniture pads
Scrap wood (2x4s)
Work gloves
Eye protection
Step 2: Remove Upper Kitchen Cabinets
Remove the upper cabinets in your kitchen first. You should start with the uppers so that you can use the kitchen counter as a support while you unscrew the upper kitchen cabinets. This step is best done with an assistant to provide additional support to the upper cabinets as you unscrew them.
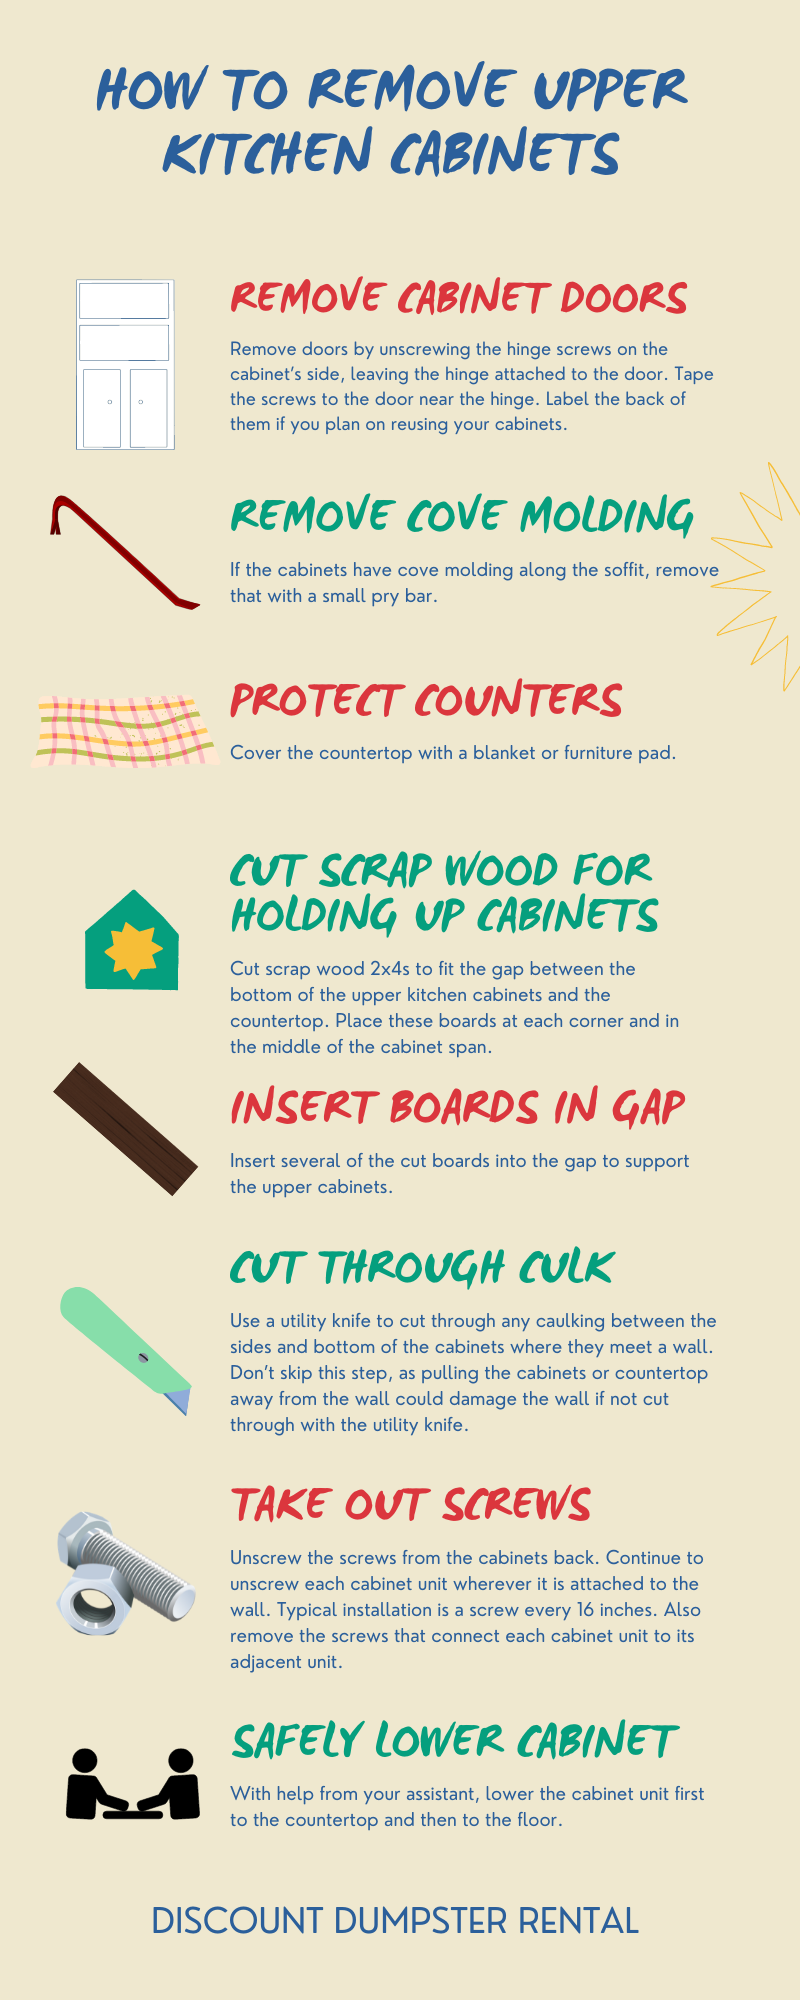
Remove doors by unscrewing the hinge screws on the cabinet’s side, leaving the hinge attached to the door. Tape the screws to the door near the hinge. Label the back of them if you are planning on reusing your cabinets.
If the cabinets have cove molding along the soffit, remove that with a small pry bar.
Cover the countertop with a blanket or furniture pad.
Cut scrap wood 2x4s to fit the gap between the bottom of the upper kitchen cabinets and the countertop. Place these boards at each corner and in the middle of the cabinet span.
Insert several of the cut boards into the gap to support the upper cabinets.
Use a utility knife to cut through any caulking between the sides and bottom of the cabinets where they meet a wall. Don’t skip this step, as pulling the cabinets or countertop away from the wall could damage the wall if not cut through with the utility knife.
Unscrew the screws from the cabinets back. Continue to unscrew each cabinet unit wherever it is attached to the wall. Typical installation is a screw every 16 inches. Also remove the screws that connect each cabinet unit to its adjacent unit.
With help from your assistant, lower the cabinet unit first to the countertop and then to the floor.
Step 3: Removing Lower Kitchen Cabinets
Once the upper cabinets are all removed, you can tackle the low cabinets. You will start with countertop removal and then move to the lower cabinet units.
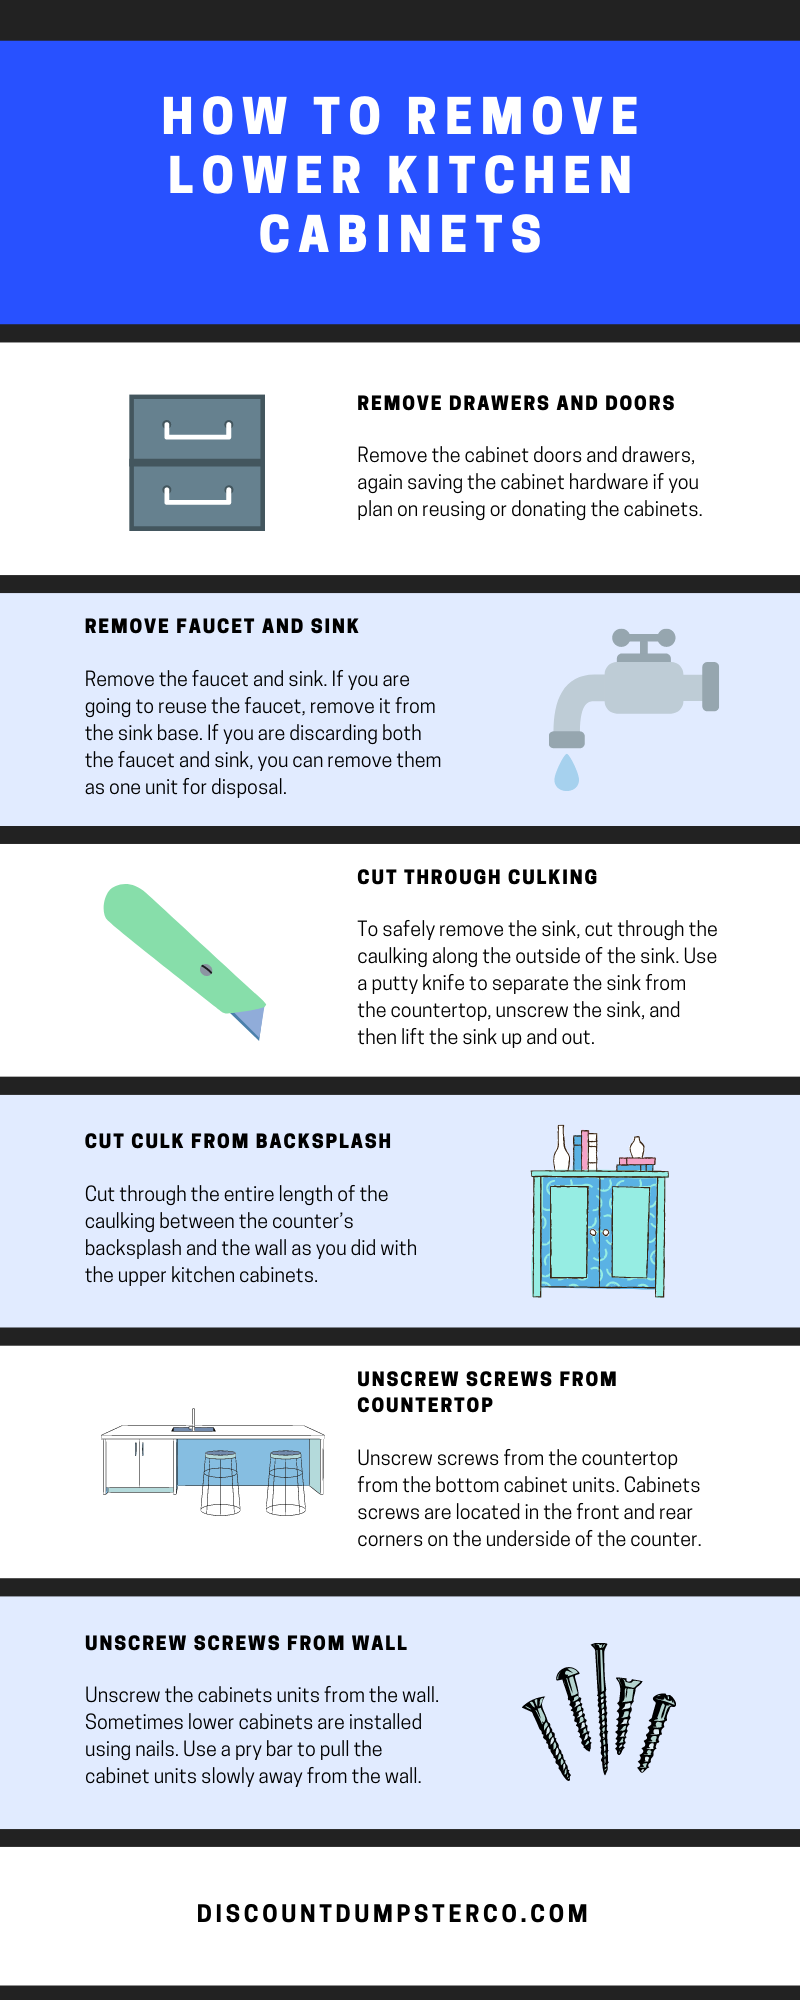
Remove the cabinet doors and drawers, again saving the cabinet hardware if you plan on reusing or donating the cabinets.
Remove the faucet and sink. If you are going to reuse the faucet, remove it from the sink base. If you are discarding both the faucet and sink, you can remove them as one unit for disposal.
To safely remove the sink, cut through the caulking along the outside of the sink. Use a putty knife to separate the sink from the countertop, unscrew the sink, and then lift the sink up and out.
Cut through the entire length of the caulking between the counter’s backsplash and the wall as you did with the upper kitchen cabinets.
Unscrew all the screws from the countertop from the bottom cabinet units. Cabinets screws are usually located in the front and rear corners on the underside of the counter.
If brackets or nails were used to attach the countertop, unscrew the brackets and the use a pry bar to lift the countertops away from the cabinets.
Unscrew the cabinets units from the wall. Sometimes lower cabinets are installed using nails. Use a pry bar to pull the cabinet units slowly away from the wall.
Cabinets Removal Tips
Sometimes cabinets are attached to the wall with glue and nails rather than screws. If this is the case in your kitchen, you will use the same techniques to remove glued kitchen cabinets, but instead of unscrewing the cabinets, you will use a pry bar to detach the cabinets from the wall. Use a hammer to tap the pry bar in the space between the wall and cabinet and then gently pull away. Use a wooden block between the pry bar and the wall to prevent wall damage. In this case, you will probably not be able to reuse or donate the cabinets, as you can expect some damage from the removal process.
If you don’t have any 2x4 scrap wood pieces to support the upper kitchen cabinets, you can use other objects as support. A large utility bucket will sit several inches below the bottom of the upper cabinets. As you unscrew the cabinets, they can be lowered to rest on the bucket. Once completely lowered, you can lift the older cabinets out to safely remove them.
If your old cabinets were built in place, you probably cannot donate them. Prefabricated cabinets have their own back, but those that are built in are missing this piece. You usually find prefabricated cabinets in older homes or when the kitchen cabinets were completely custom built.
If your old cabinets are still in good shape, consider donating them instead of discarding them. Some cabinets recycling companies will even come pick them up for you. When donating, don’t forget to include the cabinet hardware, such as drawer pulls, hinges, and screws.
Clean the area and make any needed repairs to the walls. This is also a good time to make floor repairs. Once your cabinets are removed, and you have cleaned and repaired the space, you have a blank slate to create the kitchen of your dreams. New cabinets are a great way to start.
Table of Contents Can Propane Tanks be Thrown Away? How to Dispose of Propane Tanks 1. Wear Proper Safety Gear 2. Turn Off all the Devices Connected to Your Tank 3. Don't Put Your Propane Tank in the Trash 4. Bring Your Tank to a Retailer Propane is Safe to Use and Easy to Dispose […]
Table of Contents What is Green Building? 10 Green Building Materials to Use for Construction Projects 1. Bamboo 2. Hemp 3. Sand 4. Cork 5. Natural Clay 6. Natural Fibers 7. Ashcrete 8. Timbercrete 9. Composite Materials 10. Upcycled Building Materials Going Green is the Future Did you know that buildings account for 40% of […]