We know you’ve imagined it – walking out on your porch on a sunny Tuesday morning, your cup of coffee in hand and a book in the other. You’d go to your comfiest patio chair and sit while the birds sing and enjoy a moment of solitude and quiet before leaving for your day. It’s peaceful and everything feels right.
We want to help you make this daydream a reality with our 10 steps on how to build a deck.
Why Should You Build a Deck?
You remember that daydream we talked about at the top, right? We’re sure you’ve had many more like it. Why not give yourself the satisfaction of finally being able to do it?
We can’t forget to mention the financial benefits of adding a deck. Did you know that decks can recoup about 75% of the costs? That means if you spend $1,000 to get your basic deck, it’ll add about $750 back to your home’s resale value if you need to pick up and move. And if you spend $5,000, well, you can do the math.
How Easy is it to Build a Deck?
Building a deck yourself can be hard physical work and take some meticulous planning, but it can also be very straightforward. Depending on the design you want and your own capabilities, you can go from very straightforward and simple backyard decks to two-story spas.
Let’s assume you’re here to build a simple deck. All you’ll need are basic carpentry skills, a good plan, and a willingness to put some sweat into it.
Take a lot of care to choose your location wisely. You’ll need to find a relatively flat area that has good drainage so water doesn’t build up and cause premature rot. You can always build on a sloped area but that would take a lot more time, planning, and precise building.
You’ll want to pick somewhere that has tree cover on sunny days so you’re not getting a sunburn every time you walk out there. You need to determine how big you want your deck to be and look at the size in relation to your home and your yard.
Once you have a location picked, you can draw out a simple layout and plan for materials.
2. Gather Your Tools
When planning for your materials, you’ll need to decide what kind of deck boards you want to use. Do you want to use composite boards or wood? Composite boards can create a clean and low maintenance finish, but wooden decks can also be stained any color and are a very classic choice.
You’ll also need your construction hardware. Depending on the size of your project, you’ll need posts, circular saws, mason’s strings as guides, tape measures, a level, a power drill, nail guns, exterior nails, concrete mix, deck hardware, and paints and stains.
Do your best to calculate how many boards you’ll need for your project. You can always buy more wood in order to get the project done, but it’ll be more streamlined if you know around how much wood your project will require. Lowe’s has recommendations on what you need when looking at deck building supplies.
3. Pour the Concrete and Place Deck Footings
The Family Handyman recommends 12-inch Sonotubes to pour concrete down to make a solid foundation. If you don’t want to deal with that, you can always buy concrete deck footings.
You just need a solid foundation that won’t be swept out by weather and erosion over time.
You also want to make sure your deck sits at a good height. Most ground decks are placed 12-30 inches above the ground to prevent water and moist soil from building up and causing the deck to rot.
4. Cut and Lay Out Your Joists
Joists are the repeated boards that are used in your structural base. You should lay these one at a time to avoid slight differences.
You will need to measure precisely and make sure that the pieces are level.
The Family Handyman also recommends that you don’t toenail your beams. That means you don’t drive your nails in diagonally through the ends into your beams. This causes the connection to be weak and imprecise.
5. Prep Your Planks
Use your measurements to buy the right 2x4’s for the length of your deck. You can use a planer to get a smooth finish on the wood.
We also recommend you go ahead and put a waterproofing layer on the wood.
6. Lay Out Your Planks
As you’re laying out the parts of the deck that are being stood on, you’ll want to make sure that they are solidly nailed down. We recommend two nails to attach the plank to each joist.
You can also measure the distance between each nail for a nice and uniform look.
As you’re working, use the level to make sure that things aren’t going terribly awry with your foundation. You can always fix things while building.
7. Add Stairs and End Caps
To give your deck a nice, clean look and to cover up the rough edges of the planks, you can add a border around the bottom of your deck.
This is the point where you can add stairs if your deck requires them.
8. Double Check Your Work and Prep for Staining
This is the time to do your last looks. Make sure all the screws are flush with the wood and things aren’t sticking out.
You can sand down the edges around the nails to make sure it is smooth and splinter free.
Make sure that things are nailed down tightly and there’s no extra wiggling; you obviously want your deck to feel sturdy.
9. Stain and Seal
We recommend weather and waterproofing wherever you can. There are a ton of waterproof sealants and paints on the market – all you have to decide is what color you want.
Make sure you’re waiting plenty of time between coats so the paint can dry and you can get the greatest benefit from your sealant.
And lastly, we recommend two or three coats of paint to give your deck the cleanest and most vibrant color.
10. Add the Finishing Touches
Once your deck is constructed, it’s up to you to give it the life you’ve always dreamed of. You can add string lights, egg chairs, outdoor rugs, a grill, a fire pit, and more. You’ve done all the hard work already. Now it’s time to enjoy it.
Pro Tips for Building a Deck
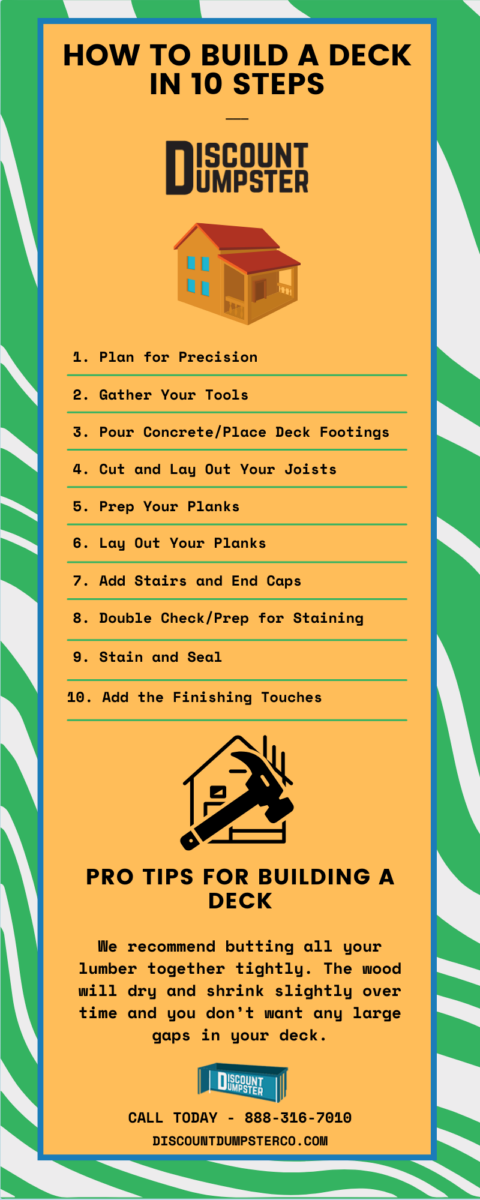
We recommend butting all your lumber together tightly. The wood will dry and shrink slightly over time and you don’t want any large gaps in your deck.
We also suggest using a drill pilot to put in holes before screwing or nailing. You don’t want the wood to split while you’re hammering something in.
From a safety standpoint, we recommend dust masks, eye protection, and to wash your hands thoroughly after working with treated wood. You also need to make sure you’re disposing of your waste and sawdust properly.
Call Discount Dumpster for Your Deck Projects
Our job is to make sure you know exactly how to toss your waste.
A large part of Discount Dumpster comes from home DIY projects. Our dumpsters are made to handle all sorts of construction waste, whether you’re building a new deck or building a new home. We can take care of all your waste materials quickly and efficiently.
Rent a dumpster from us for as long as you need, and we’ll deliver and pick it up right at your door.
Give us a call for your next rental so you can get started on building your dream deck!
Call Today for a Home Project Dumpster! - (888) 316-7010
Table of Contents How Does Bidding Work? How to Successfully Bid a Roofing Project 1. Thoroughly Assess the Roof 2. Understand the Scope of the Job 3. Take Good Measurements 4. Determine Materials Costs 5. Calculate Labor Expenses 6. Add in the Extras 7. Agree On a Clear Timeline 8. Watch Out for Overhead Costs […]
Table of Contents What Goes into Removing Concrete? What is the Cost to Remove Concrete? 1. Concrete Thickness and Volume 2. Reinforcement Removal 3. Location and Accessibility 4. Equipment Rental Costs 5. Disposal Fees 6. Labor Costs 7. Permit Fees Plan Well to Make Your Concrete Removal Easier Homeowners can save money on home improvement […]