Adding crown molding to a room is a wonderful way to enhance its overall look, and the best part is that it's a budget-friendly DIY project you can take on. However, many DIYers shy away from installing crown molding because they're unsure about dealing with the challenges of corners and joints. According to caddetailsblog.com,
“With just a little preparation, the right tools, and practice, practically anyone can install crown molding in their home.”
In this article, I will explain how to cut crown molding properly.
What is Crown Molding?
Crown molding, unlike other types of moldings, runs along the area where your wall and ceiling meet, effectively hiding the seam. It can be made from wood, medium density fiberboard, metal, and many other types of materials.
Crown molding does more than just hide the seam, it can add a dramatic architectural flare in any room. It can also be used to make a room feel taller by drawing attention toward the ceiling. It is a popular addition in many kitchen remodels but can be used in just about any room of the house. There are many different styles and designs for crown molding, so you can really get creative with it in your home.
Preparing for the Cut
Make sure to prepare for the precise cuts needed for crown molding. In general, the following steps will help you:
1. Choosing the Right Crown Molding for Your Project
The first step is selecting the right crown molding for your room. Consider the style and dimensions that will best complement your space. Measure your room to calculate the total length needed.
2. Gathering the Necessary Tools and Materials
To make sure your crown molding cuts turn out just right, you'll want to have a set of essential tools at your disposal. Start with a must-have tool: a miter saw. According to mtcopeland.com,
“Crown molding is often cut with a compound miter saw. A miter saw allows trim to be cut at any angle. The fence and base of the saw mimics where walls and ceilings meet at 90 degrees.”
You'll also need a miter box, tape measure, stud finder, level, and either a nail gun or a trusty hammer. Keep some wood glue, sandpaper, and a pair of safety glasses handy too. When shopping, be sure to pick up the required length and quantity of crown molding, as well as some finishing nails. And don't overlook the wood filler – it's your secret weapon for concealing any imperfections.
3. Taking Accurate Measurements
When it comes to cutting crown molding, nailing those measurements is a crucial first step. Take the time to measure each wall accurately, making special notes of corners and any openings. For inside corners, measure from the corner to any stop points.
On the other hand, with outside corners, measure the entire distance between them. It's important to keep a record of all these measurements to ensure you have the exact lengths you need for each piece. And don't forget to use a stud finder to mark where the studs are for secure molding installation.
4. Understanding the Different Angles and Cuts
The angle of your blades will depend on the type of cut. According to toptiertool.com,
“A basic 45-degree miter cut is commonly used for corners.”
Crown molding also requires compound miter cuts with the saw tilted at specific angles based on the molding's spring angle and position.
5. Adjusting the Miter Saw for Accurate Cuts
To get those cuts just right, make sure your saw is set up correctly. Adjust the miter angle to match the degrees needed for your cut, and it's a good idea to double-check with a protractor to ensure precision. Keep your crown molding flat and in proper alignment.
For compound cuts, remember to tweak the bevel. When you're aiming to cut multiple pieces to the same length, attach a stop block to your saw table using a clamp – it'll save you time and ensure consistency.
6. Using Clamps and Supports for Stability and Safety
Use clamps to hold the molding securely and prevent shifting during cuts. For enhanced stability, position Crown Stops or Knee Braces against the back fence. When you're dealing with bevel cuts, make sure your molding is on a raised platform to ensure proper blade clearance. Always prioritize safety by adhering to saw safety guidelines, keeping your hands away from the blade, and using a blade guard to protect yourself.
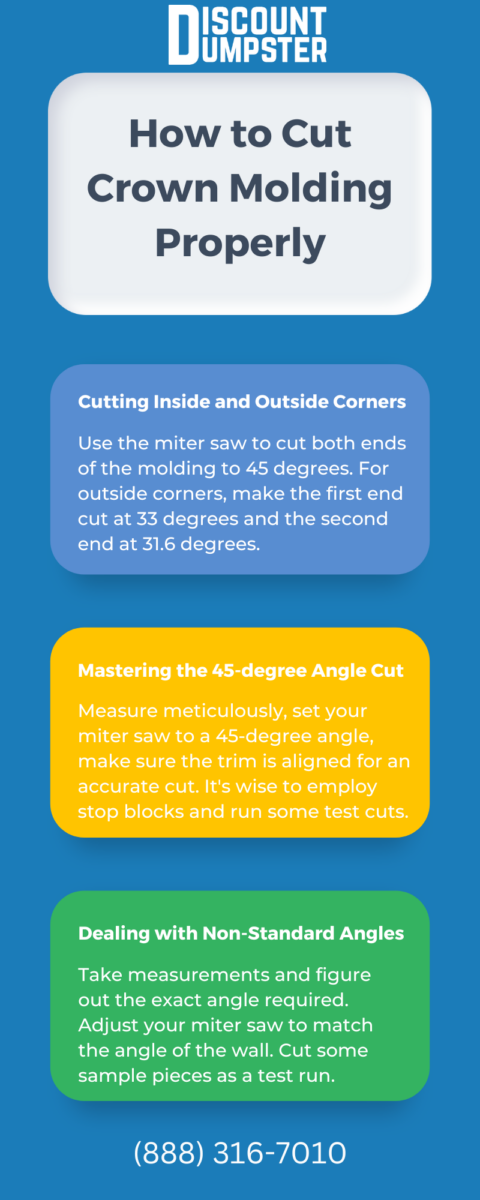
When you're working on inside corner joints, use the miter saw to cut both ends of the molding to 45 degrees. For outside corners, make the first end cut at 33 degrees and the second end at 31.6 degrees. Here's a handy tip: always start by cutting the shorter point on the 33-degree angle side first.
2. Mastering the 45-degree Angle Cut
When working with most crown molding, the classic 45-degree miter cut is your go-to. It's crucial to measure meticulously, set your miter saw to a 45-degree angle, and make sure the trim is perfectly aligned for an accurate cut. Prior to making the final cut, it's wise to employ stop blocks and run some test cuts on scrap pieces. To achieve clean, crisp edges, take your time and cut with a steady, smooth motion.
3. Dealing with Non-Standard Angles
Every now and then, you might encounter corners or walls that don't quite hit that perfect 90-degree mark. In such cases, take careful measurements and figure out the exact angle required. Adjust your miter saw with precision to match the angle of the wall. Before diving into the actual work, be patient and cut some sample pieces as a test run. And to double-check that your saw angle lines up with the measured angle, don't hesitate to use a protractor for confirmation.
Rent a Dumpster for Your Next Renovation Project
Call Discount Dumpster to get an accurate quote for your renovation project. We have worked with thousands of homeowners on jobs big and small. We offer expert advice and make sure you get the right size dumpster for your home renovation project. Get the lowest price in the area and support throughout your entire job.
Call today to talk to our friendly customer service team and get started right away!
Call Today for a Renovation Dumpster Rental Near You! - (888) 316-7010
Table of Contents How Does Bidding Work? How to Successfully Bid a Roofing Project 1. Thoroughly Assess the Roof 2. Understand the Scope of the Job 3. Take Good Measurements 4. Determine Materials Costs 5. Calculate Labor Expenses 6. Add in the Extras 7. Agree On a Clear Timeline 8. Watch Out for Overhead Costs […]
Table of Contents What Goes into Removing Concrete? What is the Cost to Remove Concrete? 1. Concrete Thickness and Volume 2. Reinforcement Removal 3. Location and Accessibility 4. Equipment Rental Costs 5. Disposal Fees 6. Labor Costs 7. Permit Fees Plan Well to Make Your Concrete Removal Easier Homeowners can save money on home improvement […]