Your living room is your home’s best gathering place. With all the comings and goings of family and guests, it can slowly get dusty and grimy. Many make cleaning lists for parts of their home, such as a bathroom spring cleaning checklist and kitchen spring cleaning checklist. Your living room deserves a good deep cleaning as well, with a proper checklist to boot.
Why Cleaning the Living Room Matters
Spring cleaning is an annual ritual performed the world over. As spring arrives and the weather warms up, we all feel the urge to open up the windows and make our home tidy and clean. But spring cleaning has benefits beyond just a cleaner home.
Making needed repairs to your home, keeping things in working order, and cleaning everything extends the life of your home and its contents. This will save you time and money over the long term.
Spring cleaning also has health benefits. Cleaning up clutter prevents trips and falls, making your home safer. Studies have shown that a cluttered home leads to increased stress, anxiety, and depression. Getting rid of unnecessary clutter and cleaning your living spaces helps reduce those feelings of stress and anxiety.
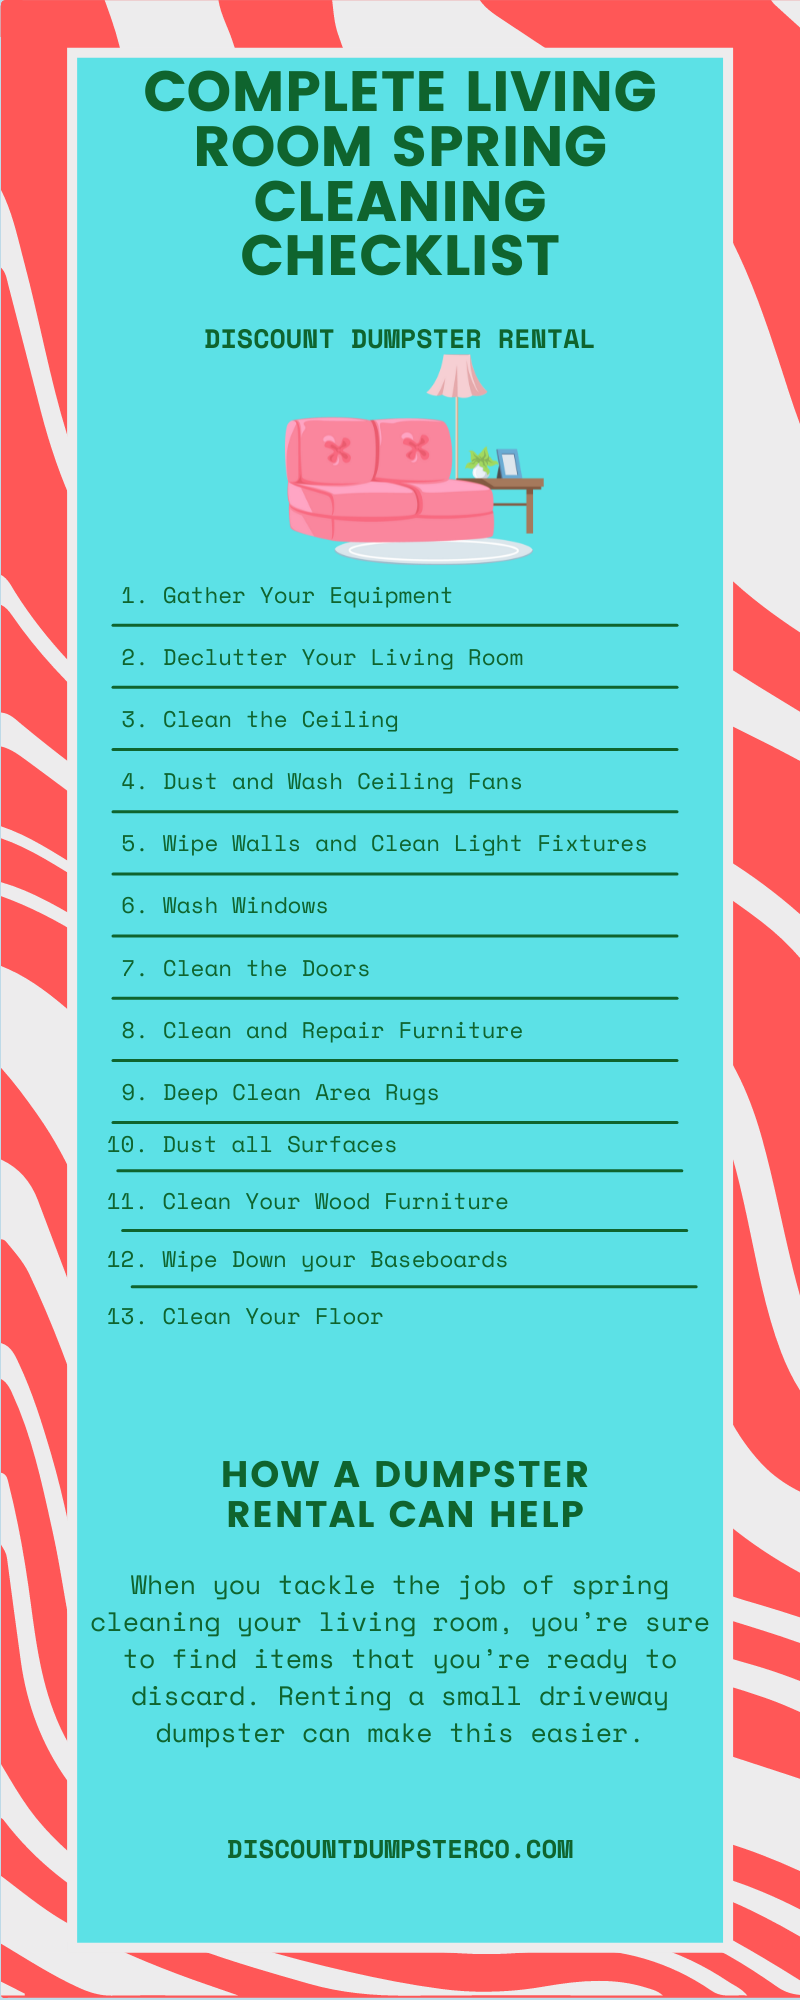
As you make your way through your home, having a complete spring cleaning checklist of each task is helpful. Although your living room may seem more straightforward and simpler to clean than your kitchen or bathroom, there are lots of details that you won’t want to miss. Use this handy living room spring cleaning checklist to make the job go smoothly.
It’s hard to clean a cluttered room. To make things go smoothly, your first step in cleaning your living room should be to declutter and remove any items that don’t belong there. Make short work of this task by using a large bin or basket.
Move through the room and put anything that belongs somewhere else into the basket, such as miscellaneous items or plastic toys. Then go through the rest of your home and return the items to their proper spot. All trash should be collected in a trash bag and discarded, while excess clutter can be temporarily stored in a closet or laundry room..
3. Clean the Ceiling
Spring cleaning is best done from top to bottom. While you may not think it possible for your ceiling to be dirty, you’d be surprised at how much dust can cling to your ceiling’s surface. Use a long-handled duster or broom to dust along the surface of the ceiling. Don’t forget to tackle the corners and edges of your ceiling where spiderwebs are likely to be found.
4. Dust and Wash Ceiling Fans
If you have a ceiling fan, you’ll want to clean that next. Use a long-handled duster to dust the top of the blades. If you don’t have such a duster, then hop on a step stool to reach the fan and dust it using a cloth or duster. If your fan is particularly dusty and grimy, use a cloth and some all-purpose cleaner to wash each blade. Remove and handwash the glass light cover. Dry completely before replacing.
5. Wipe Walls and Clean Light Fixtures
Just as your ceiling can get dusty, so can your walls. To clean them, first remove all art work from your walls. Dust the surface of the walls by wiping your walls with a clean cloth. Don’t forget to pull out your furniture from the walls and remove dust behind them.
To clean your art work, use a dusting cloth on all the surfaces. Clean any glass with a glass cleaner. Finish with a wipe-down of your light switch plates and outlet covers.
6. Wash Windows
Remove any curtains and launder them if they are washable. If not, consider getting them professionally dry-cleaned. If you have blinds, these can be cleaned with a cloth and all-purpose cleaner. Then wipe down the window sills and the window tracks.
Wipe off the top of any window frames. Then clean the window glass. Use a window cleaner and wipe down using crumpled newspaper. Even better, use a squeegee for squeaky clean window. To get your windows sparkling clean, you should also wash the outside surface of the windows.
7. Clean the Doors
Wipe down your doors in the same way as your ceiling and walls. Target every door you have, including your garage door. Use an all-purpose cleaner and cloth to remove any smudges or grime. Don’t forget the top of your doors, as there can be an accumulation of dust up there.
8. Clean and Repair Furniture
Remove any throw pillows and cushions from your sofa and chairs. Be sure to wash blankets and other furniture. If your sofa covering is washable, then launder it. If not, take the cushions outside and use a broom to beat them to remove any dust.
Return inside and use your vacuum’s upholstery attachment to vacuum your sofa and chairs. Don’t forget the crevices between the cushions. Spot clean any dirty spots with a mild soap solution and a rag. To finish, spray soft furniture surfaces with an odor-removing spray.
9. Deep Clean Area Rugs
Area rugs can collect a lot of dust. To remove most of it, take your rugs outside. Beat them with a broom or rug beater. Take them back indoors to vacuum. For best results, vacuum first the back side and then flip it to vacuum the top of the rug. If there are noticeable spots, spot clean them with a rag and some soapy water. Also, you can vacuum curtains in a similar manner as your rugs.
10. Dust all Surfaces
To dust your living room, work in a systematic fashion. Remove every item and dust it and the area under it using a dusting cloth, a static cleaning cloth, or a duster. Dust your lampshades. Clean the lamp base with a rag and all-purpose cleaner. Clean the light bulb after letting it cool down completely. If any areas are particularly dusty, use a lightly damp cloth to capture all the dust.
11. Clean Your Wood Furniture
Dust your wood furniture. If there is grime on the surface, use a very mild dish soap solution to clean the surfaces. Check your wood furniture for any dings and repair them with a furniture-patching wax stick in a color to match the finish. Then polish your wood furniture with a cloth and polishing cleaner or add a light coating of furniture wax to protect the wood.
12. Wipe Down your Baseboards
Use your vacuum’s attachment to remove most of the dust from your baseboards. If they are particularly grimy, then a light soap solution and rag will get them clean.
13. Clean Your Floor
Use the proper cleaning solution for your particular type of floor. Use a hardwood floor cleaner for a wood floor. For ceramic tile floors, mix some white vinegar into a mild soapy solution. Laminate floors can be cleaned with a gentle soap solution, but you need to dry the floor as soon as possible to avoid water absorption. If you have carpeting, you can get your carpet professionally cleaned or rent a carpet cleaner to do it yourself.
How a Dumpster Rental Can Help
When you tackle the job of spring cleaning your living room, you’re sure to find items that you’re ready to discard. Renting a small driveway dumpster can make this easier. It will handle the small clutter and broken items easily. You also will have a convenient way to discard your old bulky furniture.
Be sure to not overfill your dumpster over the top edge of the container. If you have several large furniture pieces to discard, arrange them in the dumpster so all your trash fits well inside the roll off container.
Updates to Brighten Up Your Living Room
When your living room tidying and deep cleaning is completed, you’ll have a pleasant, clean, and healthy living room to enjoy. Adding a few finishing touches will make your room feel not only squeaky clean, but also updated and comfortable. Finish off your living room spring cleaning chores with these easy and inexpensive updates:
· Add an air purifier
· Hang new curtains
· Get new throw pillows
· Hang some art
· Add some houseplants
And there you have it! A clean and updated living space for your family and guests to enjoy. After all that hard work, put your feet up and relax in your freshened living room.
Table of Contents Why is Guestimating Important? What Kind of Roofing Tools Do You Need? How Many Bundles Should You Buy? 1. Asphalt 2. Metal 3. Tiles 4. Wood 5. Solar Shingles Know Your Bundles Your roofing materials are vital to your home’s structural integrity and the safety of the building. You want it to […]
Table of Contents Why is Window Removal Necessary? More Energy Savings Greater Comfort and Security UV Protection Increased Home Value How to Remove Windows Properly 1. Inspect Your Windows 2. Remove the Sash Weights and Stops 3. Remove Paint 4. Repair Any Cracks 5. Prepare the Surface 6. Install Flashing Tape 7. Install the Window […]