Installing attic insulation is a crucial step in reducing your energy bills and promoting an environmentally friendly home. Insulation acts as a protective layer to regulate indoor temperature. Adding attic insulation reduces energy consumption, leading to significant cost savings while maintaining a comfortable living environment.
“Opting to install or upgrade the insulation in your attic is a home improvement project that offers immediate and long-term benefits.”
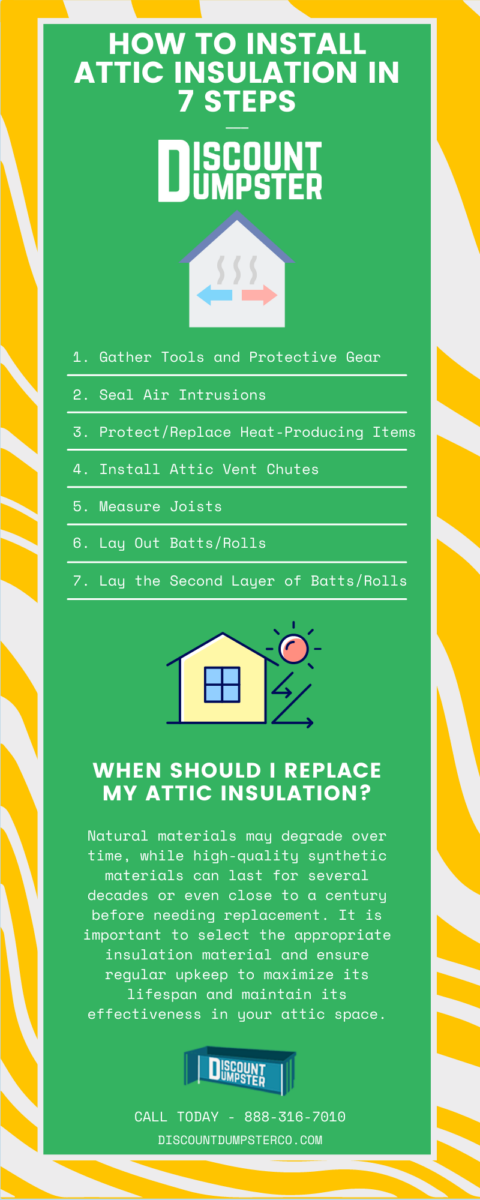
In this article, we will explain how to install attic insulation in seven easy steps.
Why Attic Insulation Matters?
If your attic lacks proper insulation, heat can easily escape from your home, leading to higher utility costs. However, by installing an insulation barrier, you can prevent heat loss during winter and keep unwanted heat out during summer. According to EnergyStar,
“Insulating your attic can result in approximately 15% savings on your future heating and cooling bills.”
Your roof is a huge investment that requires proper care and maintenance. Attic insulation plays a crucial role in providing care to your roof. By reducing moisture build-up, insulation helps prevent issues such as rot, mold, and warping, which can compromise the structural integrity of your roof. By installing attic insulation, you are taking proactive steps to protect and preserve your roof's longevity and performance.
Choosing the Right Type of Insulation
Properly installing insulation helps minimize heat loss and heat gain through the building envelope of your home. There are several types of insulation available, and selecting the most suitable type and form depends on your location. There are four general categories of insulation:
Loose-fill/blown
Fiberglass batt
Rigid foam board
Spray foam
Loose-Fill/Blown Insulation
Fiberglass/mineral wool and cellulose are common types of loose-fill and blown insulation. You can install both types of insulation either at a high density through dense packing or by blowing them into a wall cavity.
Fiberglass Batt Insulation
Loose fiberglass or mineral wool fibers commonly used in loose-fill insulation can also bond together with adhesive to form blankets, which are suitable for insulating walls.
Rigid Foam Board Insulation
Commonly used in both retrofit projects and new construction, rigid foam board insulation is utilized as continuous insulation rather than filling wall cavities.
Spray Foam Insulation
Spray polyurethane foam (SPF) is the most common type of spray foam insulation, available in high-density (closed-cell) and low-density (open-cell) variations.
How to Prepare for Installation
When preparing to install attic insulation, it is important to follow these steps:
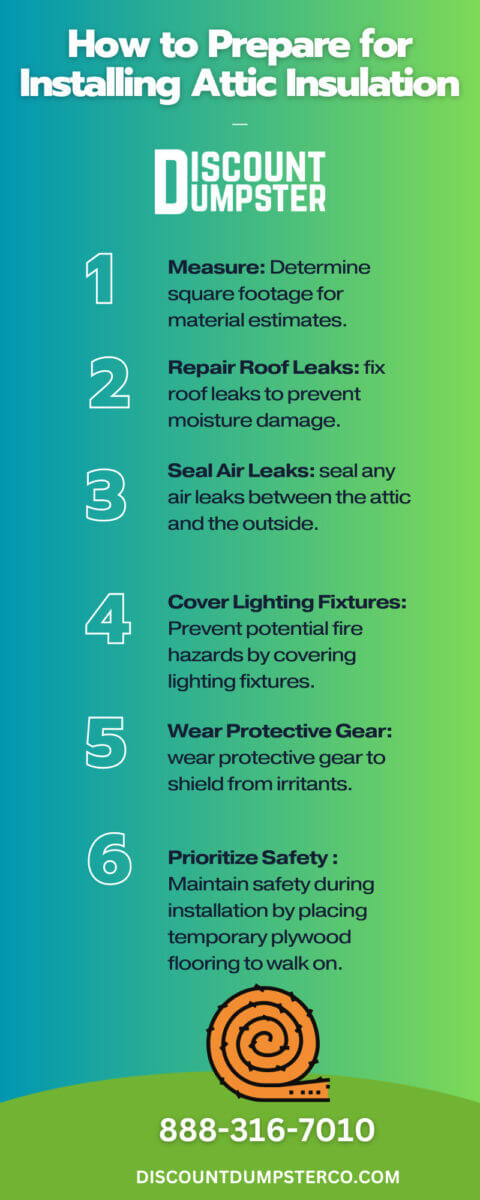
Determine the square footage of your attic to estimate the amount of insulation material needed.
Repair Roof Leaks
Before installing new insulation, address any existing roof leaks to prevent moisture damage.
Seal Air Leaks
Identify and seal any air leaks between the attic and the outside or between the attic and living spaces.
Cover Lighting Fixtures
Prevent potential fire hazards by covering lighting fixtures with materials like metal flashing, hardware cloth, or plywood, ensuring a 3-inch safety gap between the insulation and fixtures.
Wear Protective Gear
To shield yourself from potential irritants, wear long-sleeved shirts, long pants, work gloves, goggles, and a dust mask or respirator when handling insulation fibers.
Prioritize Safety
Maintain safety during installation by placing temporary plywood flooring to walk on, rather than standing on exposed joists.
Position the ladder beneath the attic access door, ensuring stability and safety. Before entering the attic, put on eye protection, gloves, and breathing protection, and wear long sleeves and pants for personal safety. Safety on a roof or in the attic is paramount for these types of projects.
Take your flashlight with you as you climb into the attic. Place two sheets of plywood on the attic floor: one for working on and the other to hold your tools.
Step 2: Seal Air Intrusions
Use your caulking gun to effectively seal narrow cracks, ensuring a tight seal and preventing air leakage. For wider cracks up to three inches in width, opt for expanding foam insulation. Doing this helps prevent mold buildup and other outside intrusions. The expanding foam will fill and seal these larger gaps, providing an airtight barrier and improving the overall insulation effectiveness.
Step 3: Protect or Replace Heat-Producing Items
To ensure proper safety, it is essential to address recessed lights that extend through the ceiling. These lights should either be IC-rated (insulation contact) or have baffles, also known as dams, constructed around them to prevent direct contact with insulation.
Maintaining a minimum distance of three inches between the lights and insulation is crucial. If you have only a limited number of recessed lights, the safest approach is often to replace them with IC-rated lights.
Step 4: Install Attic Vent Chutes
To maintain proper attic ventilation and prevent obstruction by insulation, it is important to install foam attic vent chutes. These vent chutes should be placed between each pair of roof rafters in the narrow triangular section where the roof meets the attic joists.
By doing so, the vent chutes ensure a clear path for passive ventilation in the attic space. Use staples to secure the vent chutes. This ensures they are securely attached to the roof rafters.
Step 5: Measure Joists
Using measuring tape, determine the width of the joists by measuring from one side to the other. If the measurement matches the width of the rolls of insulation (typically 15 or 16 inches), no cutting is required. However, if the rolls are wider than the joists, you will need to cut them lengthwise.
To achieve straight and precise cuts, use a two-by-four as a guide. Place the insulation product on a stable surface, such as the ground, and carefully cut along the marked line using a utility knife or appropriate cutting tool.
Step 6: Lay Out Batts/Rolls
When installing fiberglass insulation, pay attention to the orientation of the paper side. If your primary heating source is used in your home, ensure that the paper side faces downward. If your main cooling source is utilized, position the paper side facing upward. In the case of unfaced fiberglass insulation, it is recommended to employ a polyethylene vapor barrier on the warmer side.
To secure the insulation in place, carefully press the unrolled fiberglass insulation between the joists. Apply sufficient pressure to achieve a snug fit, ensuring that the material is in contact with the surrounding surfaces. However, be cautious not to excessively compress the insulation, as this can reduce its effectiveness.
Step 7: Lay the Second Layer of Batts/Rolls
Once you have finished installing the initial layer of insulation between the joists, you might choose to enhance the insulating properties by adding a second layer. Use an equivalent amount of insulation as you did for the first layer. For optimal results, ensure that all the rows in the second layer are perpendicular to the direction of the first layer.
When Should I Replace My Attic Insulation?
The durability and lifespan of insulation vary depending on the type of material used and the level of maintenance provided. Natural materials may degrade over time, while high-quality synthetic materials can last for several decades or even close to a century before needing replacement.
It is important to select the appropriate insulation material and ensure regular upkeep to maximize its lifespan and maintain its effectiveness in your attic space. Improper waste disposal leads to many unintended consequences, so its best to plan ahead for these efforts!
Fiberglass Insulation
Fiberglass insulation needs to be replaced 15-20 years into its life. It can easily become dirty, wet, moldy, and ineffective if there’s a roof leak or water damage of any kind.
Cellulose Insulation
Cellulose insulation is known for its green and effective properties, with a potential lifespan of up to 30 years. However, it is uncommon for cellulose insulation to last its full lifespan, and will likely need to be replaced in half the time.
Spray Foam Insulation
Spray foam insulation is a type of expanding foam that offers long-lasting durability. Once applied to the walls, it has the potential to last indefinitely, unless damaged. Unlike other materials, spray foam does not rot or degrade over time.
“More than 90% of American homes have insufficient insulation.”
With the right preparation, installing insulation in your attic can yield many great benefits. By taking necessary precautions and ensuring a thorough installation, you can enjoy the benefits of your attic insulation for a decade or more.
Before you can enjoy your new insulation, you will need to properly dispose of any extra insulation materials that you have. One way to do this is by renting a dumpster. Discount Dumpster has a wide variety of dumpster sizes that are perfect for any sized project. Give us a call today, and our expert team will gladly help you find what you’re looking for!
Call to Reserve Your Dumpster Rental Today! - (888) 316-7010
Table of Contents Complications of Medical Waste Disposal How to Dispose of Medical Waste 1. Segregation 2. Storage 3. Transportation 4. Treatment 5. Disposal 6. Documentation Recycling Efforts for Medical Waste From blood draws to throat swabs to surgeries, many medical procedures result in medical waste. Healthcare providers know the risks involved with improper handling […]
Table of Contents Why You Need Storage for the Big Move? Security Organization Convenience Flexibility Cost-effectiveness The Best Storage Containers for Moving 1. 1-800-PACK-RAT 2. PODS (Portable On-Demand Storage) 3. U-Haul U-Box 4. SMARTBOX 5. Zippy Shell Storage Containers are Useful for Big Moves Moving can be a daunting task, especially when dealing with the […]