Water damage to the walls of your home is a serious issue. Water causes trouble when it goes where it does not belong. For example, rather than running off your roof, it may work its way into the junction of a wall and the roof. When water seeps into the under the siding of your home, the wood could rot or develop a mold problem. Often this type of problem is not noticed until there is a large area of damage.
Waterproofing your roof is an important step to preventing this type of damage. Most roof leaks occur where the roof surface encounters anything that pops up out of your roof, like a chimney, plumbing vent pipe, skylights, or dormer windows. Leaks can also occur where two roof surfaces intersect. A vertical sidewall results when any level of your home rises above part of your home along a roof line. This particular situation needs special care when putting on a new roof, repairing your roof, or doing renovations that affect the roof line of your home.
“Based on my 40-plus years of clambering around on roofs, I’d estimate that well over 90 percent of roof leaks happen at flashings.”
These leaks occur when the flashing is missing or is not installed properly. Installing the right type of roof flashing in the proper manner is crucial to stopping damage from water leaks.
Read this blog to learn how to install step flashing on a roof.
Prevent Water Damage with Step Flashing
The outside of your home should have cladding to prevent water damage. This is a layer attached to the outside of the walls, such as siding, and the roof material of your home, usually roofing shingles. Step flashing is a set of small L-shaped pieces of metal that are woven into the roofing shingles during shingle installation. The flashing connects the roof cladding with the wall cladding in a way that keeps water out.
The use of step flashing is critical to installing a watertight roof.
“Because of their importance, flashing materials should meet or exceed the life expectancy of the roof. Flashings often connect different moving components, so they should be able to accept thermal and load-induced movement, especially if they are located above an expansion joint,” explains Erin Falvey, a project engineer at Facility Engineering Associates.
Step flashing is installed so that there is a row of short pieces of flashing for every row of shingles. Each piece of step flashing will be overlapped by the shingle below. The flashing along the wall extends up behind the exterior covering.
Since water always runs downhill, this keeps the water flowing down and not into your walls. But just moving the water downhill is not enough. If installed improperly, water can still wick up into the walls. Ice can also cause water to seep through. So, step flashing needs to be correctly installed to make the joints watertight and to ensure that the water is directed away from the wall and down the roof to the home’s gutters.
Step flashing is made from stainless or galvanized steel, copper, lead, or aluminum. Corrugated aluminum metal flashing is the most affordable type of flashing. Step flashing is usually an installation and code requirement for asphalt, wood, and slate shingles.
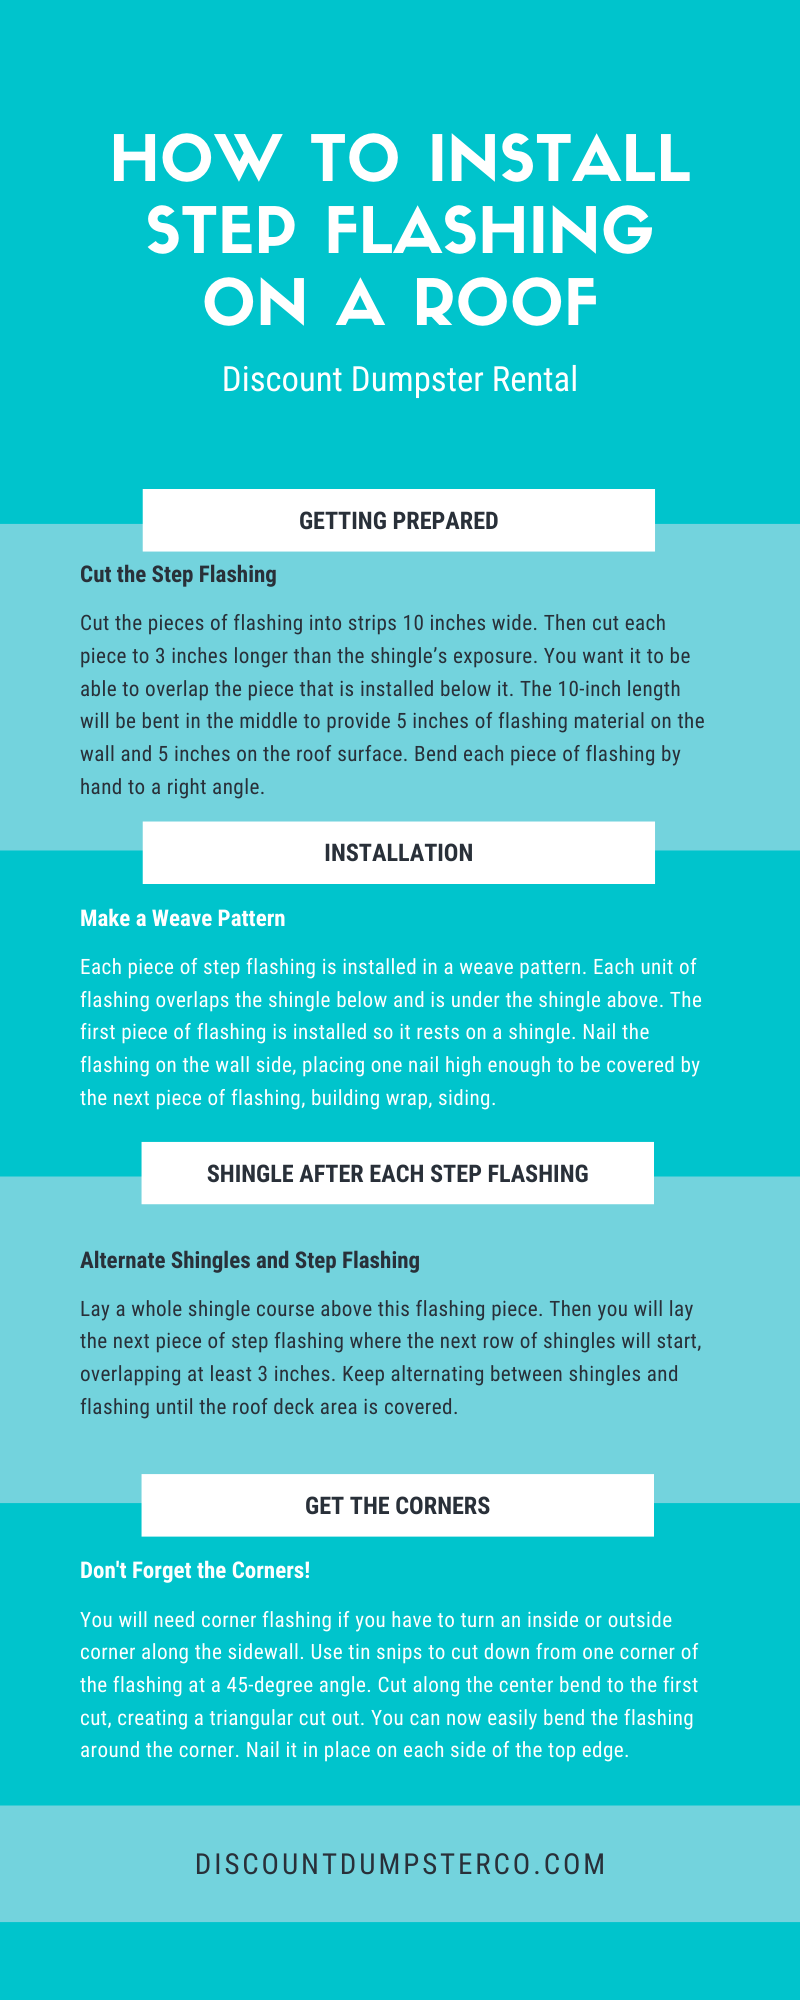
You can purchase pre-cut step flashing pieces or you can cut pieces yourself from a longer piece of metal. Cut the pieces of flashing into strips 10 inches wide. Then cut each piece to 3 inches longer than the shingle’s exposure. You want it to be able to overlap the piece that is installed below it. The 10-inch length will be bent in the middle to provide 5 inches of flashing material on the wall and 5 inches on the roof surface. Bend each piece of flashing by hand to a right angle.
Each piece of step flashing is installed in a type of weave pattern. Each unit of step flashing overlaps the shingle below and is positioned under the shingle above. The first piece of flashing is installed so that it is resting on a shingle. Nail the flashing on the wall side, placing a single nail high enough to be covered by the next piece of flashing, the building wrap, and the siding. For added protection, you can apply sealant to the overlapping areas of the flashing.
Lay a whole shingle course above this flashing piece. Then you will lay the next piece of step flashing where the next row of shingles will start, overlapping at least 3 inches. Keep alternating between shingles and flashing until the roof deck area is covered.
You will need corner flashing if you have to turn an inside or outside corner along the sidewall. Use tin snips to cut down from one corner of the flashing at a 45-degree angle. Cut along the center bend to the first cut, creating a triangular cut out. You can now easily bend the flashing around the corner. Nail it in place on each side of the top edge.
The top of the step flashing should be covered with house wrap and then siding. Take care not to nail through the tops of the flashing when you are installing the siding.
Common Mistakes to Avoid When Installing Roof Flashing
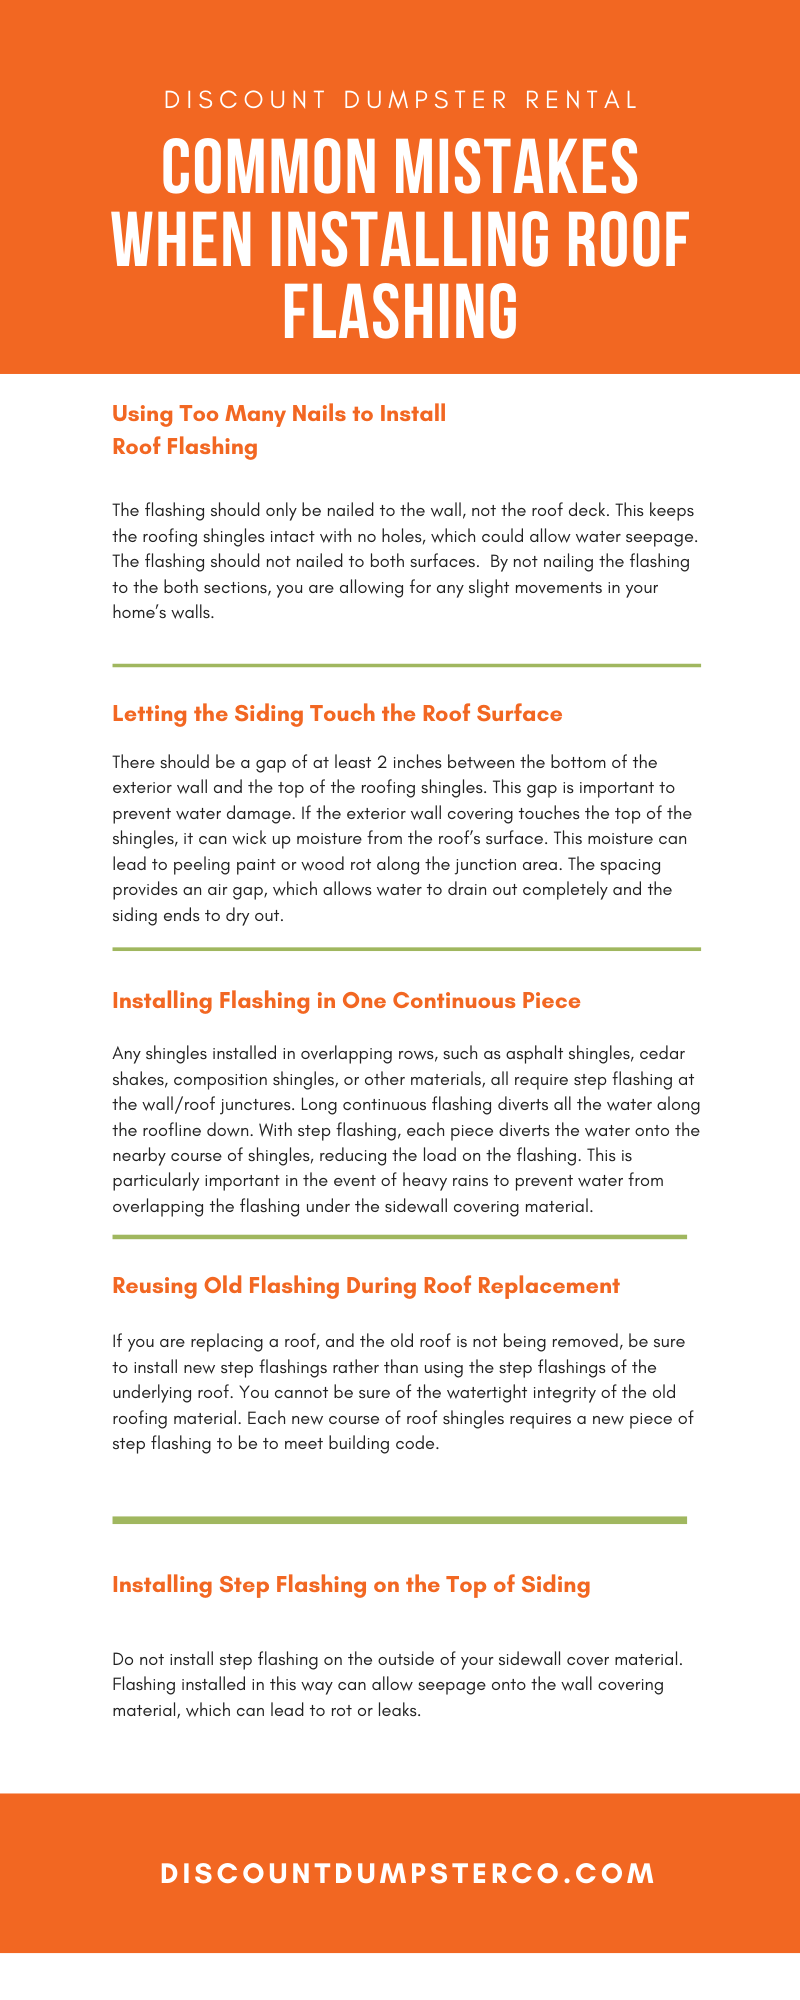
1. Using Too Many Nails to Install Roof Flashing
The flashing should only be nailed to the wall, not the roof deck. This keeps the roofing shingles intact with no holes, which could allow water seepage. The flashing should not nailed to both surfaces. Buildings, including your home, move in response to temperature changes or shifting in the ground. By not nailing the flashing to the both sections, you are allowing for any slight movements in your home’s walls.
2. Letting the Siding Touch the Roof Surface
There should be a gap of at least 2 inches between the bottom of the exterior wall and the top of the roofing shingles. This gap is important to prevent water damage. If the exterior wall covering touches the top of the shingles, it can wick up moisture from the roof’s surface. This moisture can lead to peeling paint or wood rot along the junction area. The spacing provides an air gap, which allows water to drain out completely and the siding ends to dry out.
You may see sidewall flashing installed as one continuous piece of metal. This is usually an incorrect method of installation. Any shingles installed in overlapping rows, such as asphalt shingles, cedar shakes, composition shingles, or other materials, all require step flashing at the wall/roof junctures. Long continuous flashing diverts all the water along the roofline down. With step flashing, each piece diverts the water onto the nearby course of shingles, reducing the load on the flashing. This is particularly important in the event of heavy rains to prevent water from overlapping the flashing under the sidewall covering material.
4. Reusing Old Flashing During Roof Replacement
If you are replacing a roof, and the old roof is not being removed, be sure to install new step flashings rather than using the step flashings of the underlying roof. You cannot be sure of the watertight integrity of the old roofing material. Each new course of roof shingles requires a new piece of step flashing to be to meet building code.
5. Installing Step Flashing on the Top of Siding
Do not install step flashing on the outside of your sidewall cover material. Flashing installed in this way can allow seepage onto the wall covering material, which can lead to rot or leaks.
Step Flashing Offers Protection for Years to Come
If you are not installing your new roof yourself, you should take the time to discuss the use of step flashing with your roofing company or a professional roofer. By understanding the steps that need to be taken to properly install step flashing, you will be able to inspect the work of the roofing professionals as the installation proceeds. You will also be ensuring that your roof is up to both your local building code and is installed properly according to the roofing shingle manufacturers’ specification.
“Roofing systems degrade over time and require repairs as they near the end of their performance lives. But when properly maintained, they can exceed their expectations,” explains Falvey.
She suggests an annual inspection of your roof. “Flashing should be inspected annually or after big weather events.” This way you can catch any problems with the flashing on your roof and help you protect your home for years to come.
Table of Contents Can Propane Tanks be Thrown Away? How to Dispose of Propane Tanks 1. Wear Proper Safety Gear 2. Turn Off all the Devices Connected to Your Tank 3. Don't Put Your Propane Tank in the Trash 4. Bring Your Tank to a Retailer Propane is Safe to Use and Easy to Dispose […]
Table of Contents What is Green Building? 10 Green Building Materials to Use for Construction Projects 1. Bamboo 2. Hemp 3. Sand 4. Cork 5. Natural Clay 6. Natural Fibers 7. Ashcrete 8. Timbercrete 9. Composite Materials 10. Upcycled Building Materials Going Green is the Future Did you know that buildings account for 40% of […]