Gutters play an important role and are essential to your home’s structural well-being. By shedding water away from the foundation of your home, they help prevent cracking, sinking, soil erosion, and basement flooding. Without properly functioning gutters on your home, you may experience paint damage, window leakage, and mold and mildew growth. This type of damage is dangerous and expensive to fix.
In addition, properly functioning aluminum gutters help preserve your yard and your neighborhood.
“Without fully functioning gutters and downspouts to control runoff in a safe manner, rainwater could cut pathways through your yard as well as your neighbor’s, creating ditches, pooling in low-lying areas, and even killing lawns, flowers, and other vegetation,” explains Glenda Taylor, writing for BobVila.com
How Much Does it Cost to Install Gutters?
House gutter replacement costs homeowners about $10 per linear foot, with the average home installation running around $1,250 to $2,000. This includes labor, but you can save a lot of money by installing replacement gutters yourself. While this is probably not a job for a beginning do-it-yourselfer, it is doable by average homeowners.
How Do You Save Money on New Gutters?
Remove Gutters Yourself
The first way to save money is to remove the old gutters yourself to install your new gutters. Tearing down the gutters is fairly straightforward. It involves detaching the gutters piece-by-piece and disposing of the gutter sections in a roll off dumpster.
Installing Gutters Yourself
Then, you will get to the reinstallation of your rain gutters on your house. In general, a permit is not required to install gutters. If the gutter replacement is part of a larger roof replacement on your house, then the gutter inspection would be included in the roof inspection.
Before starting any gutter installation work, check the soffit, fascia, fascia brackets, and each gutter piece for any rotted or damaged wood. If you see this, you will have to repair this first. Now is also a good time to paint the trim on your home, especially if there is any bare wood exposed. Make sure that the fascia boards are in good condition before installing your new gutters. Also, get all gutter material removed from gutters.
Then you are ready to begin the gutter systems installation process. Having someone at your house to help you with your gutter installation really helps. This is especially helpful when lifting the connected gutters to the roof line and attaching them to the brackets. Since installing gutters requires very accurate measurements, it also doesn’t hurt to have a second pair of eyes on your calculations as you make your plans.
Keeping ready to learn how to replace your gutter system. We'll walk you through the steps of gutter installation and get your project going.
Tools Required:
Cordless drill
Nails and screws
Hacksaw
Hammer
Chisel
Crimper
Level
Duckbill tin snips
Extension ladder
Hex head driver
Offset tin snips
Pop rivet gun
Caulking gun
Putty knife
Chalk for a chalk line
Lag screws
Pop rivets
Needle nose pliers
Materials Needed:
Gutters
Downspouts
Corner joints
End caps
Hanging brackets
Heavy duty zinc screws
Sheet metal screws
Silicone gutter sealant
You can get any of these materials at your a home improvement store or local hardware stores.
How to Install Gutters
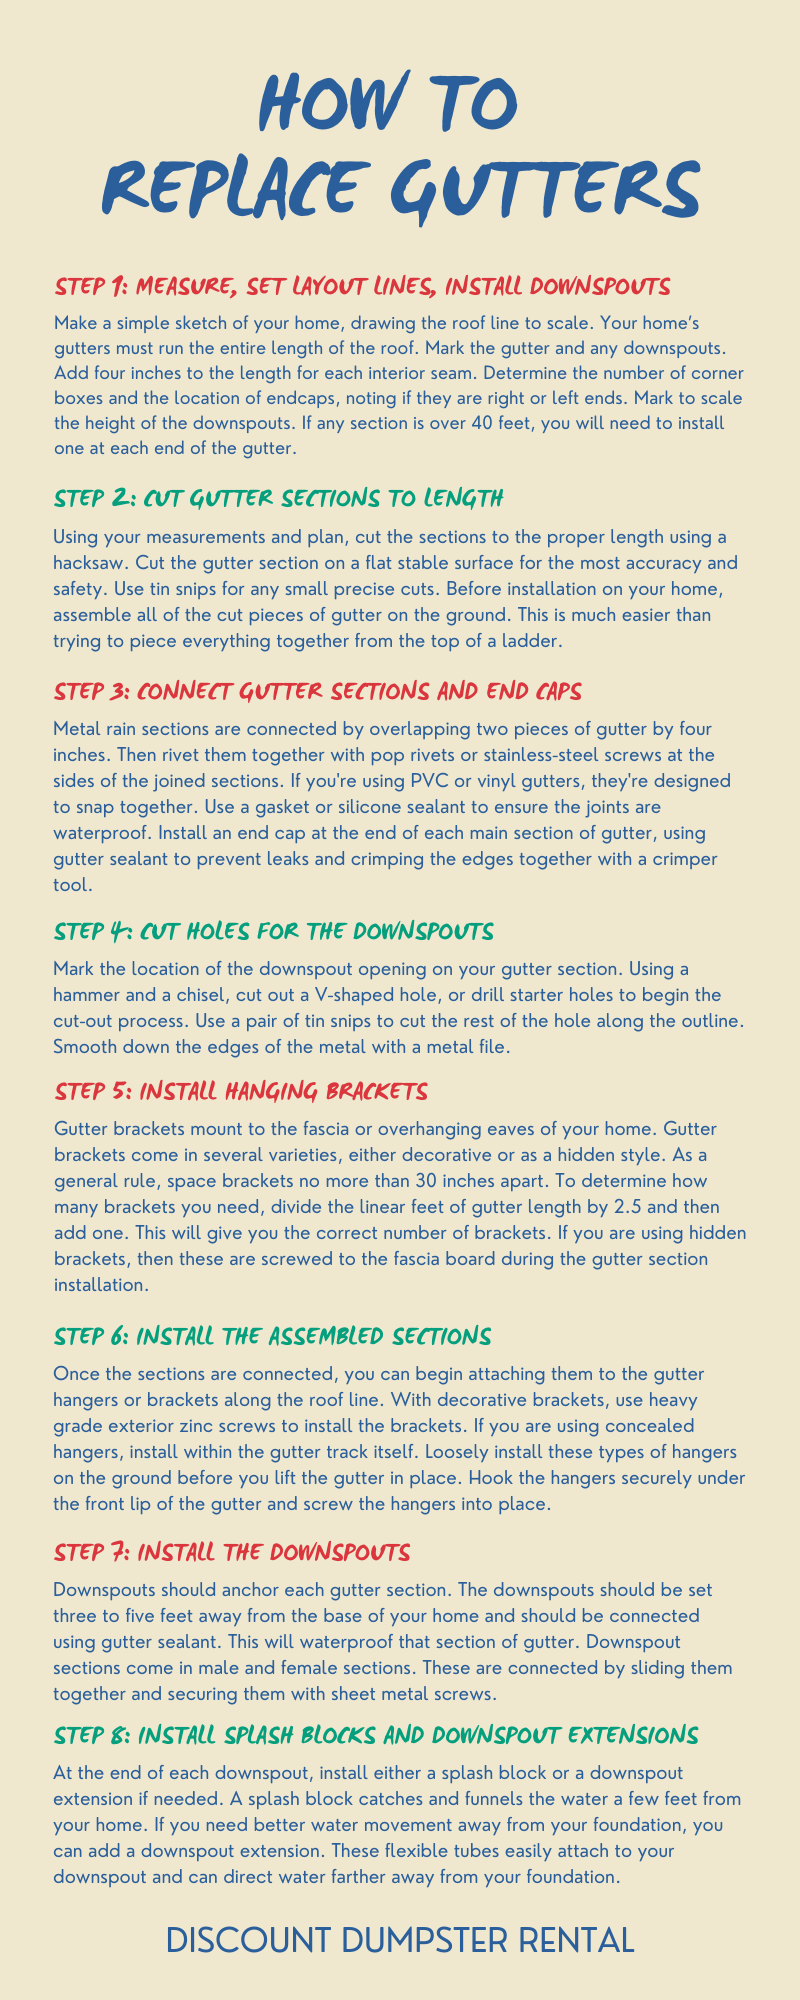
Step 1: Measure First, then Set Layout Lines, then Install Downspouts
Make a simple sketch of your home, drawing the roof line to scale. Your home’s gutter system must run the entire length of the roof. Mark up the gutter and any downspout locations. Add four inches to the length for each interior seam. Determine the number of inside and outside corner boxes and the location of endcaps, noting whether they are right or left ends. Mark to scale the height of the downspouts. If any section is over 40 feet, then you will need to install two downspouts, one at each end of the gutter.
Step 2: Cut Gutter Sections to Length
Using your measurements and plan, cut the sections to the proper length using a hacksaw. Cut the gutter section on a flat stable surface for the most accuracy and safety. Use tin snips for any small precise cuts. Before installation on your home, assemble all of the cut pieces of gutter on the ground. This is much easier than trying to piece everything together from the top of a ladder.
Step 3: Connect Gutter Sections and End Caps
Metal rain sections are connected by overlapping two pieces of gutter by four inches. Then rivet them together with pop rivets or stainless-steel screws at the sides of the joined sections. If you are using PVC or vinyl gutters, they are designed to snap together. Use a gasket or silicone sealant to ensure the joints are waterproof. If you are turning a corner with your aluminum gutters, then use an inside box miter. Install an end cap at the end of each main section of gutter, using gutter sealant to prevent leaks and crimping the edges together with a crimper tool.
Step 4: Cut Holes for the Downspouts
Mark the location of the downspout opening on your gutter section. Using a hammer and a chisel, cut out a V-shaped hole, or you can drill starter holes to begin the cut-out process. Then use a pair of tin snips to cut the rest of the hole along the outline. Smooth down the edges of the metal with a metal file.
Gutter brackets mount to the fascia or overhanging eaves of your home. Gutter brackets come in several varieties, either decorative or as a hidden style. As a general rule, space brackets no more than 30 inches apart. To determine how many brackets you need, divide the linear feet of gutter length by 2.5 and then add one. This will give you the correct number of brackets. If you are using hidden brackets, then these are screwed to the fascia board during the gutter section installation.
Step 6: Install the Assembled Sections
Once the sections are connected, you can begin attaching them to the gutter hangers or brackets along the roof line. Before beginning installation, be sure your ladder is placed on solid even ground. Do not lean the ladder to a side. Best practice is to work with a partner.
With decorative brackets, use heavy grade exterior zinc screws to install the brackets. If you are using concealed hangers, these are installed within the gutter track itself. You can loosely install these types of hangers on the ground before you lift the gutter in place. Once you’ve lifted the gutters into place, simply hook the hangers securely under the front lip of the gutter and then screw the hangers into place.
Step 7: Install the Downspouts
Anchor Downspouts
Downspouts should anchor each gutter section. The downspouts should be set three to five feet away from the base of your home and should be connected using gutter sealant. This will waterproof that section of gutter. Downspout sections come in male and female sections. These are connected by sliding them together and securing them with sheet metal screws.
Make Sure The Gutters are Sloped
For ideal drainage, the gutters should be properly sloped. The ideal slope for gutters is one inch for every 20 feet of travel, meaning for every 10 linear foot of gutter, you need to lower the gutter by 1/2 an inch. Mark slope lines by marking the fascia at one end and then measuring down 20 feet. Set the next mark at 1/2 inch lower. Then connect the two marks to get the slope line. The easiest way to do this is to use a chalk line to mark the top of the gutter. Make the chalk line thick enough so you can easily see it. If there is a downspout on each end of the gutter, then the mid-point of the gutter length would be a high point. Use a level to establish the proper slope for your gutters.
Step 8: Install Splash Blocks and Downspout Extensions
At the end of each downspout, install either a splash block or a downspout extension if needed. A splash block catches and funnels the water a few feet from your home. If you need better water movement away from your foundation, you can add a downspout extension. These flexible tubes easily attach to your downspout and can direct water farther away from your foundation.
Gutter Maintenance
Once installed and in use, check your aluminum gutters periodically to ensure that they are not pulling away from the house. If you notice a gutter section pulling away from the wood or sagging down, check first to see if the gutter is clogged. Leaves and branches can clog up a gutter, making it heavy and prone to sagging. Then secure the gutter section using additional brackets if needed and heavy-duty zinc screws into the fascia. Use silicone sealant to seal up any leaking areas.
Clean out your gutters every few months to ensure that rainwater can freely flow. With a ladder to reach the gutters, use a trowel to sweep out the leaves and branches. Then flush with a garden hose for a final cleaning and to test flow. You should check your downspouts for any clogs. Use a hose with a pressure nozzle to clear out any blockages.
Install a Leaf Guard
Installing a leaf guard in your gutters to keep debris out of your gutters is also an option. Gutter guards are a micromesh screen that filter out debris, including the small shingle grit that sheds from your roof during rainfall.
Final Thoughts
With the proper materials, good installation, and periodic maintenance, your rain gutters will accomplish what they are designed to do: remove water from around your foundation and protect your home from erosion and damage. The cost of any damage to your home will exceed the cost of gutters, but remember that you can save money by installing them yourself. Investing in rain gutters is a smart choice and a worthwhile investment that will pay off over the years to come. Get started on your DIY project and do a great gutter job!
Table of Contents Why is Window Removal Necessary? More Energy Savings Greater Comfort and Security UV Protection Increased Home Value How to Remove Windows Properly 1. Inspect Your Windows 2. Remove the Sash Weights and Stops 3. Remove Paint 4. Repair Any Cracks 5. Prepare the Surface 6. Install Flashing Tape 7. Install the Window […]
Table of Contents What is Xeriscaping? Top 7 Xeriscaping Ideas on a Budget 1. Design with Mulch 2. Xeriscape with Paver Walkways 3. Low-Maintenance Rock Gardens 4. Plant Succulents in Containers 5. Shift Towards a Rain Garden 6. Add a Rainwater Recycling System 7. Use Drip Irrigation Help Conserve Water by Xeriscaping Xeriscaping ideas offer […]