As spring arrives, fresh air blows, birds are chirping, and flowers bloom. But you may feel like your home is stuck in the doldrums of winter. Seasonal cleaning to the rescue! Spring cleaning your home gets the dust and grime of winter washed away.
There is no room in your home that benefits more from this annual cleaning ritual than your kitchen. With a deep cleaning, not only do you get to enjoy a clean and tidy kitchen, you also can improve the health of your family.
Benefits of Kitchen Cleaning
Your kitchen is the most used room in your home. It also has the potential to harbor dangerous bacteria that could sicken you and your family members. While daily upkeep is necessary to ensure a clean and healthy kitchen, there are many areas of your kitchen that do not get the attention they need.
Most foodborne illnesses result from eating out at a restaurant. But that doesn’t mean you can’t get sick from your own kitchen. A report from the European Food Safety Authority shows that one-third of all foodborne illnesses come from home food storage or preparation.
Due to the fact your kitchen is where you store, prepare, cook, and consume food, ensuring that your kitchen is clean and sanitized will help prevent foodborne illnesses, including salmonella, E. coli infection, and norovirus. These illnesses can be serious and may cause sickness leading to death in some people, especially the immunocompromised, elderly, and infants.
Don't Skip Out on Kitchen Deep Cleaning Tasks
Getting rid of old, rotting, and expired food can also help prevent gastrointestinal illnesses. Consuming this type of food can be hazardous to your health. But we all have times when we forget about that container in the back of the fridge or the expired box in the pantry.
When you do a full spring cleaning, you’ll be emptying the entire contents of your fridge and pantry. This gives you a chance to discard what is unsafe instead of simply moving it to the back of the shelf.
Using the proper cleaning products and techniques will also keep bacteria, viruses, and mold at bay in your kitchen. The presence of these viruses and allergens can cause cold and flu, allergy or asthma symptoms, or other conditions that can eventually become serious, especially in the case of mold.
Keeping a truly clean kitchen also prevents pests and creepy critters from moving in. Food debris and crumbs can attract mice, rats, ants, roaches, and flies. With daily maintenance, you’ll be emptying your trash, dealing with dirty dishes, and putting food away properly.
A deeper cleaning gives you the chance to get in the nooks and crannies of your kitchen, where food waste can settle and attract bugs and rodents. Pests are not interested in places that have no available food. A kitchen deep clean is the easiest and best way to keep them from moving in at all.
Kitchen Spring Cleaning Checklist
It can be daunting to think about deep cleaning your whole kitchen from top to bottom. To give yourself enough time to get through the cleaning process, consider blocking off a weekend to complete all the chores. As with any big home project, having a partner will make the work go more quickly. It’s also more enjoyable if you have someone to talk with while they help you.
Making a plan will keep you on track and ensure you don’t miss any steps. “Decide exactly what you want to get done and get it written down instead of aimlessly cleaning, as it will feel really challenging,” says home décor expert Laura de Barra.
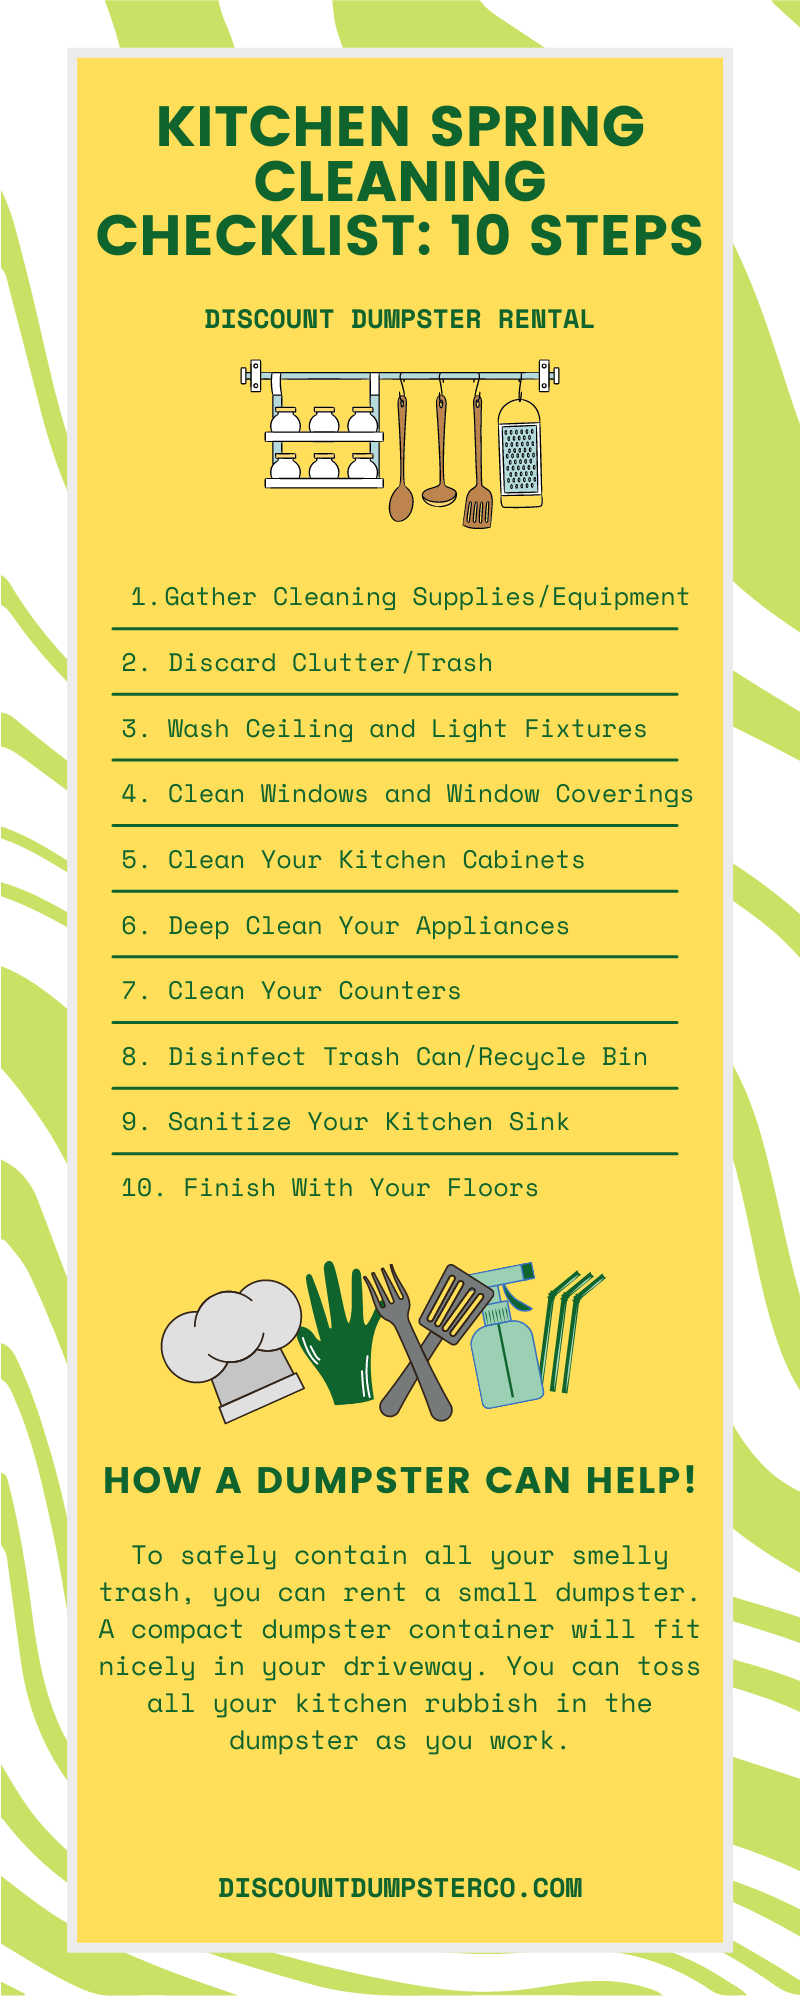
This kitchen spring cleaning checklist is a step-by-step guide. Follow each step and you’ll end up with a clean and tidy kitchen in no time. Also make use of the printable kitchen cleaning checklist below.
Be sure to gather everything you’ll need to complete your spring cleaning before you start working. This lets you proceed smoothly without having to stop to find something you need or even worse, having to run to the store for supplies. These are some basic supplies you’ll need to spring clean your kitchen:
• Trash bags
• Dusting cloths
• Step stool
• Microfiber cleaning cloths
• Rubber gloves
• All-purpose cleaner
• Dish soap
• Glass cleaner
• Oven cleaner
• Furniture polish
• Polishing cloth
• Old toothbrush
• Spray bottle
• Sponge
• Bucket
• Floor cleaner
• Broom
• Mop
2. Discard Clutter and Trash from Your Kitchen
You can’t deep clean a room full of clutter. Take time at the beginning of your spring cleaning to clear away the clutter in your kitchen. Use bins or baskets to streamline clutter removal and deposit the items where they belong in the rest of your home.
Be sure to have plenty of trash bags handy for any trash you’ll encounter. The following are items that should be removed from your kitchen before your spring cleaning starts:
• Expired food items from the refrigerator, freezer, cabinets, and pantry
• Expired medicine
• Items that belong in another room
• Trash and recycling items
• Old pots and pans that you no longer use
• Dishes and serving items you’d like to discard
• Cookbooks you no longer want
• Stools, chairs, and tables
3. Wash the Ceiling and All Light Fixtures
A good rule of thumb when spring cleaning any room is to start at the top and work your way down. You may not think that your ceiling needs cleaning, but you’d be surprised at how much grease and dust can cling to the surface.
By starting at the top of your room, you can clean as you need to without worrying about dripping onto an already-cleaned surface. Follow these steps to clean the upper surface of your kitchen:
• Use a step stool or ladder to reach your ceiling
• Wipe down the surface of your ceiling using an all-purpose cleaner
• Remove any light fixtures
• Clean light fixture glass with a microfiber cloth
• Replace any burned out bulbs
• Wipe light switches with a damp microfiber cloth
4. Clean Glass Windows and Window Coverings
Next, work on the windows in your kitchen. Remember to clean both the inside and outside of your windows. Window treatments to consider:
• Remove any curtains and launder them
• Clean any window blinds
• Wash the windows and the window tracks
5. Clean Your Kitchen Cabinets Inside and Out
Next, you’ll work on cleaning your cabinets. These have a lot of surfaces to tackle, so it can be easy to miss something as you work. These are the steps you’ll take to get the job done:
• Use a dusting cloth on the tops of your cabinets or an all-purpose cleaner if they are greasy or grimy
• Wipe down the inside of the cabinets including the walls and shelves
• Clean the outsides of the cabinets and the cupboard doors
• Clean the door handles and drawer pulls
• Clean the insides of drawers and drawer organizers
• Sanitize your silverware and kitchen knives
6. Deep Clean Your Appliances
Cleaning your appliances will take the most time as you spring clean your kitchen. To make it easier, just take it step-by-step and work your way through your kitchen.
Dishwasher
• Remove all clean dishes from the dishwasher
• Wipe around the seal of the door, taking care to get into the folded rubber seal
• Run the dishwasher with a dishwasher cleaning tablet or a cup of white vinegar
• Wipe down the outside of the dishwasher
Oven
• Remove oven racks and deep clean them by soaking them in your bathtub with an enzyme-based degreasing cleaner
• Clean the oven using either the self-cleaning setting or by applying an oven cleaner to the inside of your oven
• Wipe the inside of the oven out
• Clean the oven door glass with a paste of baking soda and water, using a razor blade to scrape up any tough grime
Stove Top
• Remove the stove’s knobs and wash in warm soapy water
• Wipe down the stove top and control panel
• If the stove top lifts up, clean underneath it with an all-purpose cleaner
Refrigerator
• Remove the refrigerator shelving
• Clean the shelving in warm soapy water
• Wipe down the inside of the fridge
• Clean out the vegetable storage drawers
• Change the water filter for your ice maker
• Dust and then clean the top of the refrigerator with all-purpose cleaner
• Pull out the fridge and vacuum under and behind the unit
• Vacuum the exposed coils on the back of the refrigerator
• Wipe down the outside front and sides of the refrigerator
• Replace the shelving when dry and return food to the fridge
Microwave
• For a particularly dirty microwave, microwave a bowl with a cup of water and vinegar or lemon juice to loosen the grime
• Wipe down the inside of the microwave
• Remove and clean the rotating glass plate
• Clean the glass front of the microwave door with glass cleaner
• Wipe down the outside of the microwave with all-purpose cleaner
• Move the microwave to clean the countertop underneath
Small Appliances
• Clean your coffee maker by running a 50/50 mixture of water and vinegar through it and then wipe down the outside with a clean cloth
• Clean your toaster by unplugging it, dumping out the crumbs, and then cleaning the surfaces with a cloth and all-purpose cleaner
• Get your stand mixer clean by wiping it down with all-purpose cleaner and using an old toothbrush to get in the creases and nooks
7. Clean Your Counters
You’re getting close to being done with your kitchen spring cleaning! With your windows, cabinets, and appliances clean, it’s time to tackle your countertops. Since you’ve already decluttered your countertops, you’ll find it easy to scrub and clean the surfaces and the backsplash.
• Wipe down the countertops with an all-purpose cleaner and cloth
• Clean the counter backsplash
• Disinfect your cutting boards with warm soapy water and a couple of drops of bleach
8. Disinfect Your Trash Can and Recycle Bin
Your trash and recycling bins can get grimy and harbor some dangerous bacteria. Empty out the trash and give the insides a good cleaning and sanitizing.
• Rinse out the inside of your trash can with hot soapy water
• Add a sanitizing cleaner and let it sit to disinfect
• Wipe down the outside and bottom of your trash can and recycling bin
• If your trash can is in a cabinet, be sure to clean the area under it using a disinfectant cleaner
9. Sanitize Your Kitchen Sink
You’ve been using your sink during your whole spring cleaning project, so it makes sense to leave it toward the end of your spring cleaning job. A clean and shiny sink makes the whole kitchen feel finished.
• Clean your garbage disposal by running baking soda and a cut lemon through it with some hot water
• Clean under the sink, organizing and discarding anything that is leaking or that you don’t use
• Move hazardous cleaners and chemicals to a safer place that is not accessible to kids or pets
• Rinse your sink and sprinkle baking soda onto the surface
• Use a cloth to clean the sink with the baking soda paste
• Take an old toothbrush and clean around the faucet base
• Wipe down the faucet
10. Finish With Your Floors
Just as you started with the ceiling of your kitchen, so you end with your floors. During your cleaning work, your floor has collected all the greasy, dirty drips. But once you give it a good cleaning, you’re done with all the parts of your kitchen spring cleaning.
• Remove any area rugs and shake them out before laundering them
• Sweep or vacuum your floor well
• Dust and wipe down your baseboards using an all-purpose cleaner
• Mop the kitchen floor
How a Dumpster Can Help
You may be surprised at how much trash you find in your kitchen as you do your spring cleaning. If you bag up this trash and let it pile up while waiting on a pickup by your residential trash hauler, you could quickly end up with a smelly mess.
Once you toss old, rotting, or expired food into the trash bag, it will start to decompose further. This will be even worse with the warmer days of spring.
To safely contain all your smelly trash, you can rent a small dumpster. A compact dumpster container will fit nicely in your driveway. You can toss all your kitchen rubbish in the dumpster as you work.
This is a better solution than having to pile the trash bags in your garage or on the side of your house. In addition, just having a dumpster available gives you the opportunity to toss any other junk you may have lying around your home.
Spruce Up Your Clean Kitchen
Spring cleaning your kitchen improves the cleanliness of your home and leaves you with a healthier environment. Once you have all your kitchen spring cleaning chores completed, do a few final steps to make your kitchen more enjoyable and organized.
Décor expert Laura de Barra explains that spring cleaning is the perfect time to do a good organization and update of your kitchen storage and décor. “When putting everything back, take a moment to assess, cull, declutter, or move to a better location rather than putting things back as they were.”
With a clean slate, it’s time to add some finishing touches to your tidied kitchen. These ideas will brighten and refresh your kitchen décor and storage:
• Buy new curtains or install new blinds
• Get new drying towels
• Put down new throw rugs
• Update your old faucet
• Install new pull handles on your cabinets
• Hang some art
• Add a few shelf organizers on unused wall space
• Bring in a houseplant or two
• Plant some herb seeds in a pot and place on your windowsill
• Hang a new paper towel holder
• Add under-cabinet lighting
• Buy some new countertop storage canisters
• Get new kitchen stools
Once you’ve completed this deep clean and organization of your kitchen, keep it tidy by cleaning as you cook, keeping your countertops free from clutter, washing dishes right away instead of letting them pile up, and doing a daily sweep and cabinet wipe-down. This way, you can enjoy your sparkling clean kitchen for months to come.
Table of Contents Complications of Medical Waste Disposal How to Dispose of Medical Waste 1. Segregation 2. Storage 3. Transportation 4. Treatment 5. Disposal 6. Documentation Recycling Efforts for Medical Waste From blood draws to throat swabs to surgeries, many medical procedures result in medical waste. Healthcare providers know the risks involved with improper handling […]
Table of Contents Why You Need Storage for the Big Move? Security Organization Convenience Flexibility Cost-effectiveness The Best Storage Containers for Moving 1. 1-800-PACK-RAT 2. PODS (Portable On-Demand Storage) 3. U-Haul U-Box 4. SMARTBOX 5. Zippy Shell Storage Containers are Useful for Big Moves Moving can be a daunting task, especially when dealing with the […]