Is there anything in your kitchen that combines form and function better than a butcher block countertop? These wooden countertops not only look beautiful, they are also durable and make cooking and prep work a breeze.
A butcher block countertop is a budget-friendly option for a new kitchen look that fits in well with a country cottage or farmhouse aesthetic. One fan of this look is Ree Drummond, known as “The Pioneer Woman.” When she did a whole-kitchen redo, she chose a butcher block surface for her counters.
“If I could marry a countertop, this would be it.”
What Value Does a Butcher Block Countertop Add?
Renovating your kitchen can results in an excellent return on your investment. When you sell your home, a renovated kitchen can attract more buyers and lead to a higher sales price. Zillow reports that 58% of buyers rate the kitchen as extremely or very important when deciding to buy a home. You won’t typically get a return on investment of 100%, but updating your kitchen packs a powerful punch.
Kitchen countertops play a big role in your kitchen. They are not only functional. They also contribute significantly to the look of your kitchen due to the surface area they take up. A 2021 study conducted by Houzz revealed that 88% of homeowners were planning on upgrading their countertops as part of a kitchen remodel. While engineered quartz was the most popular choice for new countertops, butcher block came in first for use on kitchen islands.
A butcher block is made from straight pieces of wood glued together into a thick slab. They have a warm-toned surface that is durable and versatile. With care, they can last a long time and are easily refinished. This one detail means that you’ll get more out of a butcher block countertop over time than any other surface. Wood does expand and contract with varying temperature and humidity, so it needs to be properly finished.
Butcher Block Styles and Costs
If you’re handy, you’ll find installing a butcher block countertop is a great DIY project. The cost of the countertop depends on the type of wood used. Popular affordable options include birch and acacia. Hardwoods like oak, maple, and walnut add durability and a great look.
You can get red tones from red oak and cherry, or warm brown tones with beech, bamboo, and birch. A popular new trendy selection is teak, but you will pay a premium for this wood choice.
Grain types also factor into the cost, with end grain costing more than edge, face, or blended grain. There are additional costs for fasteners, glue, caulk, and the final sealant for your wood surface. Many lumberyards and online vendors offer great deals on wood for a butcher block countertop. Shop around to find the best deals.
So, is it worth the cost? A butcher block countertop is very affordable and adds a lot of value to your home. Compared to granite, solid surface, or marble, a wood countertop is more affordable to install, is easily replaced or repaired, and offers convenience and durability that can’t be beat by other options.
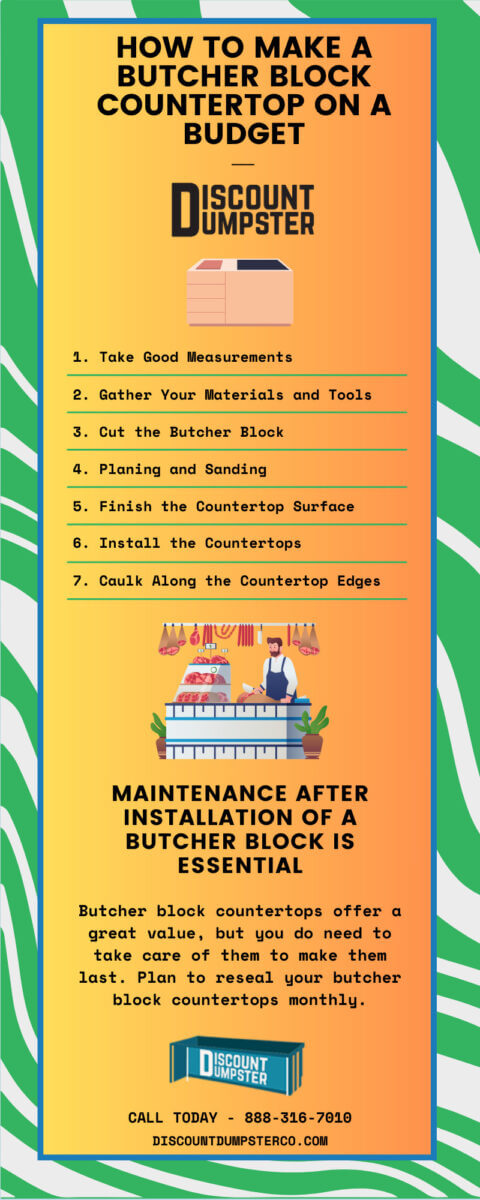
How to Make a Butcher Block Countertop
You can save money by installing your butcher block countertop yourself. These steps will guide you through the project. There is one important thing to note before you get started. The butcher block material should be acclimated for at least 72 hours in your kitchen before installation. This allows the wood to settle into its final size before cutting.
As you plan out the design of your kitchen countertops, be sure to get good measurements. Before you start, remove all the cabinet doors and drawers, the sink, and appliances from your kitchen. Measure the depth of your countertops. Standard counter depth is usually around 24 inches, but you can add additional overhang if you’d like. Usually, butcher block comes in a 25-inch depth. If you’d like a larger overhang, you can get a custom size crafted for your specific design.
After measuring, make a template out of cardboard or thin tempered hardboard. If the wall is curved at any point, making a template will reveal this defect and allow you to adjust your cuts so the butcher block fits perfectly. Making a template also makes installing a butcher block island countertop easier, as you can create the exact size and shape you want.
2. Gather Your Materials and Tools
Make it easier by having the proper tools and materials lined up before you start the job. Fortunately, working with butcher block is easy and uses common woodworking tools.
Food-safe wood glue
Clamps
Table or circular saw
Wood planer
Belt or orbital sander
Bar clamps
220-grit sandpaper
Jigsaw
Food-grade mineral oil or tung oil
Safety glasses
Ear protection
Dust mask
3. Cut the Butcher Block
Tape your template to the butcher block material and trace it onto the wood surface. Use a circular saw to cut out the shape. Dry fit the countertop in, making sure it fits perfectly.
Confirm the placement of your sink in the countertop. Transfer guidelines onto your countertop with a pencil. Use a jigsaw to cut the opening.
To properly cut faucet holes, drop the sink into the opening and determine best placement for the faucet. Mark with a pencil and then make your cuts.
4. Planing and Sanding
You may not need to do any planing of your countertops, but check to make sure they are flat and smooth. If not, you will use a planer followed by a belt or orbital sander to get a perfect surface. Sanding also takes care of any extra glue from joining separate wood pieces together.
The edges of the countertop should be sanded to smooth them out and add a slight rounded edge. If you’d like a more defined curve to the edge of your countertops, finish them with a router followed by a good sanding.
5. Finish the Butcher Block Countertop Surface
The surface of the butcher block needs to be finished to seal it and provide a beautiful look to your kitchen. All surfaces of the countertop should be treated, including the underside and all edges. This provides good protection for the wood over time.
This step needs to be done before you install the countertops. You can use food-grade mineral oil, blended tung oil finish, or a butcher block conditioner. The wood can also be stained and sealed.
6. Install the Countertops
Apply construction adhesive to the top edge of your cabinets. Ease the wooden countertop into place. Make sure that the front of the countertop is aligned with the cabinets. Screws inserted underneath the countertop through the cabinet mounts will keep the countertop in place and tightly attached to the cabinets.
If you are joining countertop sections to cover a larger area, you will need to properly connect the separate countertop pieces. The best way to do this is to use a biscuit joint or pocket holes.
7. Caulk Along the Countertop Edges
Use a clear silicone to fill in any gaps between the countertop and walls. You will also need to caulk around the sink once that has been installed.
Maintenance After Installation of a Butcher Block is Essential
Butcher block countertops offer a great value, but you do need to take care of them to make them last. Plan to reseal your butcher block countertops monthly. Use a food-grade oil applied with a soft cloth. This will protect against nicks and stains.
If you do need to resurface your countertop, all you need to do is sand with a fine-grit sandpaper (220-grit). Once you’ve sanded and cleaned the surface, you can reseal with oil again. You can expect to need to resurface your countertops every 5 to 10 years, depending on how much you use them.
Get a Great Price on a Dumpster for Your Kitchen Countertop
Call Discount Dumpster when you’re ready to replace your old countertops with new butcher block countertops. Doing demo on kitchen countertops generates a lot of bulky waste. We make it easy to take care of disposal with a compact dumpster delivered right onto your driveway. We offer affordable options, fast delivery, and excellent service to make your project hassle-free.
If you have a countertop replacement or other kitchen remodeling to do, talk with us to learn more about our roll off options. Call us to get a free quote and to learn more about our services for DIY homeowners on a budget.
Call Today to Secure a Kitchen Remodel Dumpster! - (888) 316-7010
Table of Contents Why is Guestimating Important? What Kind of Roofing Tools Do You Need? How Many Bundles Should You Buy? 1. Asphalt 2. Metal 3. Tiles 4. Wood 5. Solar Shingles Know Your Bundles Your roofing materials are vital to your home’s structural integrity and the safety of the building. You want it to […]
Table of Contents Why is Window Removal Necessary? More Energy Savings Greater Comfort and Security UV Protection Increased Home Value How to Remove Windows Properly 1. Inspect Your Windows 2. Remove the Sash Weights and Stops 3. Remove Paint 4. Repair Any Cracks 5. Prepare the Surface 6. Install Flashing Tape 7. Install the Window […]