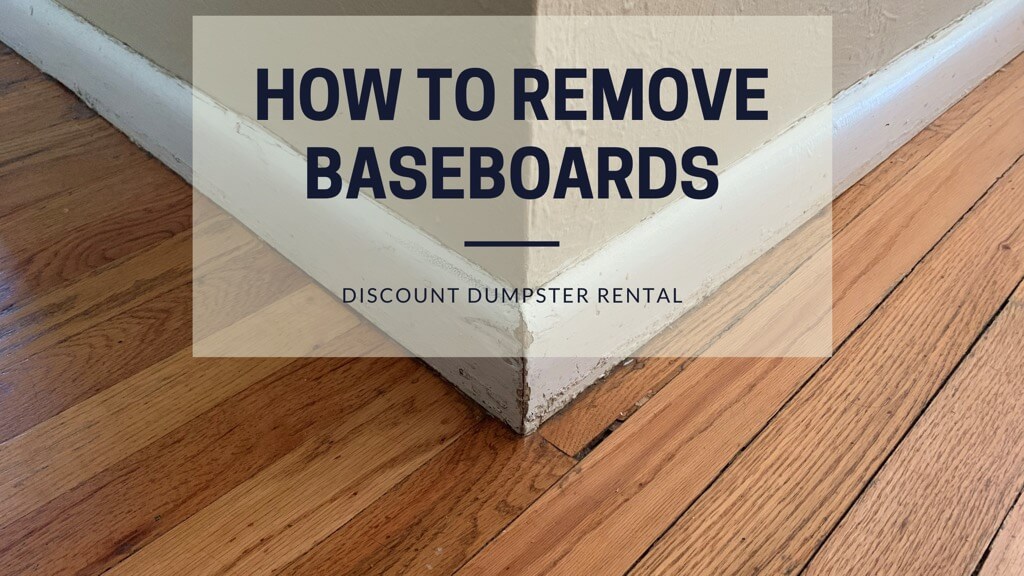
Baseboards are a finishing component of interior design. They are designed to hide the seam where the wall meets the floor in a decorative way, but they are not just for aesthetics. They also protect the bottom of your wall from damage to the drywall and are a barrier against dirt getting into the seam.
Baseboards need to be removed when you are installing new flooring or removing floors, carpet installation, painting, resurfacing or replacing a wall, or when doing a larger demo of a room. When planning a remodel of your home or getting new floors, doing a quick demo sounds like a good idea. While there are benefits to a quick tear out, some components of a room can be carefully taken out and then reused. Baseboards are one of those easy-to-reuse items. With the price of wood products and lumber increasing, removing this trim carefully without damaging for reuse is an easy way to save money.
In order to reuse your boards, you’ll need to take care and gently pry them out during the removal process. The key is to use the right tools and to take your time. While there are some specialty tools that make baseboard removal easier, such as trim pullers or other specialized tools, the job can be successfully accomplished with tools the average DIY homeowner already has. With some patience, you should be able to reuse all of your baseboards and have no problem installing them.
Continue reading to learn how to remove baseboards.
Tools Needed
Safety glasses
Utility knife
Caulk remover
Hammer
Side-cutter pliers
Putty knife
Small pry bar
Thin wood block
Pencil
Trim puller for removing trim (if readily available)
Prepare Before You Remove Baseboards
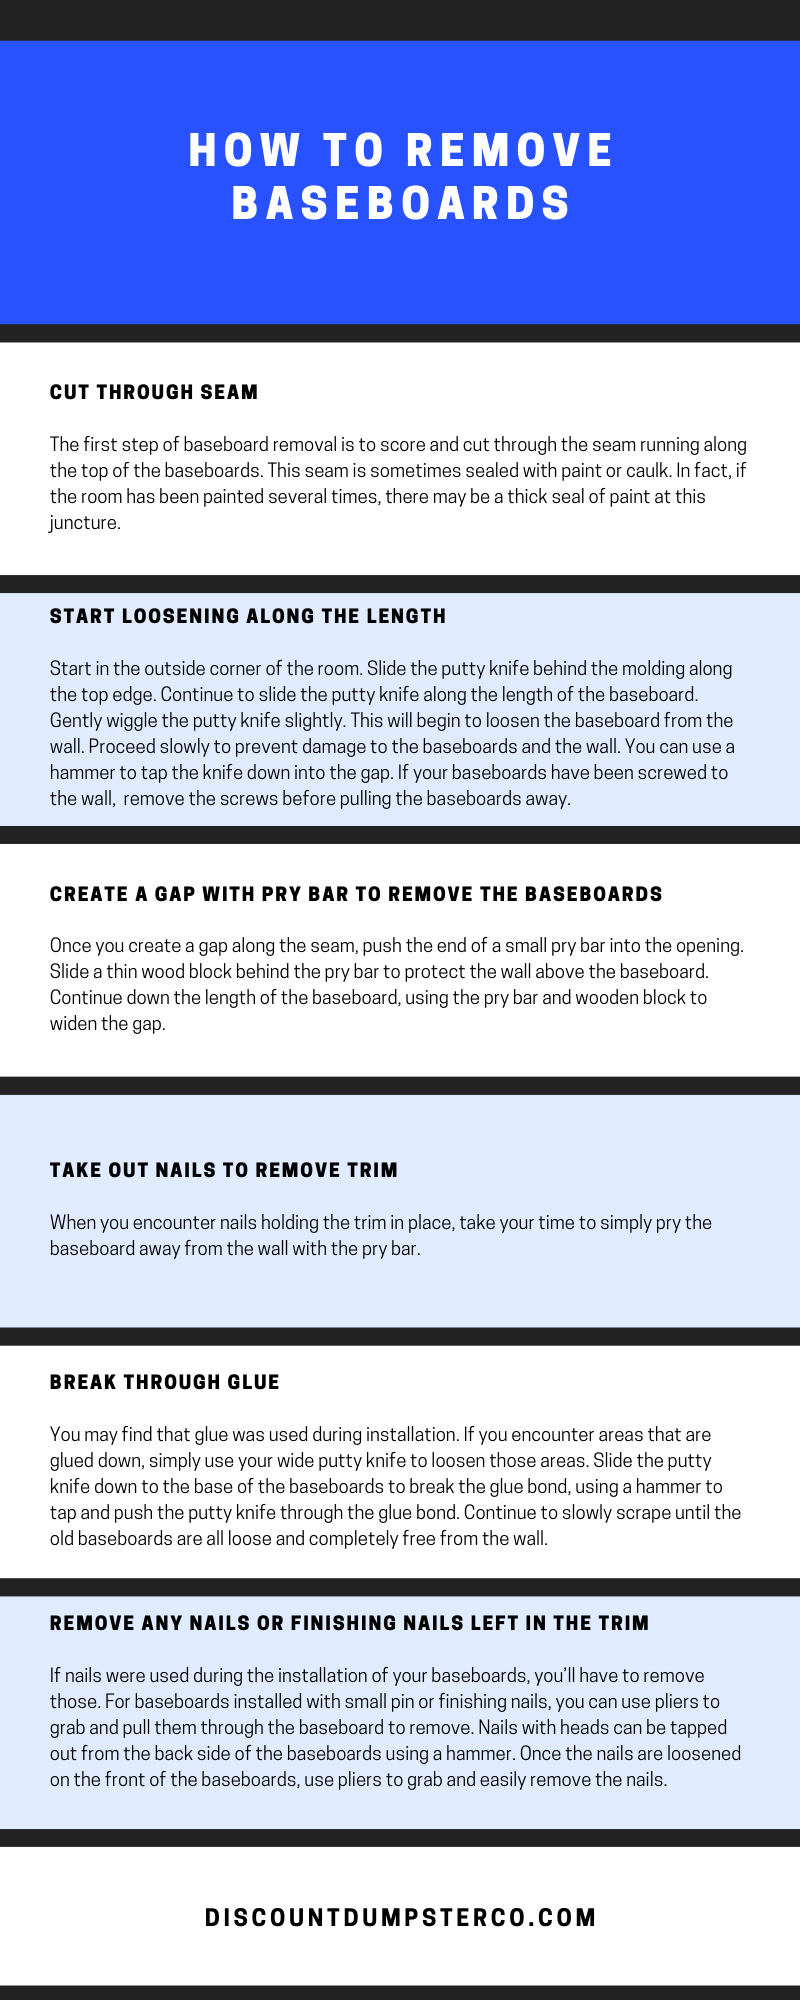
Cut Through Seam
The first step of baseboard removal is to score and cut through the seam running along the top of the baseboards. This seam is sometimes sealed with paint or caulk. In fact, if the room has been painted several times, there may be a thick seal of paint at this juncture.
If latex paint was used, then there could be a solid seal between the wall and the baseboards. Don’t skip this step, as removing the baseboard could pull off a section of the surface of the wall.
Use a sharp utility knife to score along the top edge seam where the baseboards meet the wall. Take your time and try to keep your cut line as straight as possible. If there is a lot of caulk along this seam, you can loosen it with caulk remover before scoring the seam. Apply a thin coat of caulk remover to this area. Caulk remover will not dissolve caulk, but does soften it, making it easier to cut through.
Start Loosening Along the Length of the Baseboards
When removing baseboards, the easiest starting point is the outside corner if the room has one. Baseboards are sometimes installed using a mitered joint at a right angle, which makes it difficult to start the removal process at an interior corner point. An outside corner gives you easier access.
Slide the putty knife behind the molding along the top edge. Continue to slide the putty knife along the length of the baseboard. Gently wiggle the putty knife slightly. This will begin to loosen the baseboard from the wall. Proceed slowly to prevent damage to the baseboards and the wall. You can use a hammer to tap the knife down into the gap.
If your baseboards have been screwed to the wall, you’ll need to remove the screws before pulling the baseboards away. Use an electric screwdriver to make the job easier. Screws that have been puttied and painted over are the most challenging situation. In this case, you may not be able to salvage the baseboards for later use.
Pull Baseboards Away from the Wall
Create a Gap with Pry Bar to Remove the Baseboards
Once you create a gap along the seam, push the end of a small pry bar into the opening. Slide a thin wood block behind the pry bar to protect the wall above the baseboard. Continue down the length of the baseboard, using the pry bar and wooden block to widen the gap.
Take Out Nails to Remove Trim
When you encounter nails holding the trim in place, take your time to simply pry the baseboard away from the wall with the pry bar.
Break Through Glue
You may find that glue was used during installation. If you encounter areas that are glued down, simply use your wide putty knife to loosen those areas. Slide the putty knife down to the base of the baseboards to break the glue bond, using a hammer to tap and push the putty knife through the glue bond. Continue to slowly scrape until the old baseboards are all loose and completely free from the wall.
Remove Any Nails or Finishing Nails Left in the Trim
If nails were used during the installation of your baseboards, you’ll have to remove those. For baseboards installed with small pin or finishing nails, you can use pliers to grab and pull them through the baseboard to remove.
Nails with heads can be tapped out from the back side of the baseboards using a hammer. Once the nails are loosened on the front of the baseboards, use pliers to grab and easily remove the nails.
How to Reuse Your Baseboards
First, clean up the baseboards and the wall. Scrape off any glue using a putty knife. Use a utility knife to remove any that is not easily scraped away. If any nails are protruding out of the drywall, hammer them flat or remove them. Number each board as you remove it, writing on the back with a pencil and numbering the section of wall where it came from. This will make for easier replacement.
There are some times that you’ll want to install newer baseboards. If any are broken during removal, you’ll need to purchase new ones. New baseboards can give your home a new look in a subtle way. If the baseboards or baseboard trim in your room need a style update or don’t match the other baseboards in your home, now is the time to get that update done. After you remove your baseboards, you are ready for the installation process.
Table of Contents Why Build a Privacy Fence? Top 7 Privacy Fence Ideas 1. Wooden Fence 2. Metal Fencing 3. Bamboo Fence 4. Vinyl Fence 5. Chain-Link Fencing 6. Brick or Concrete Fence 7. Natural Fence Privacy Fences Add Utility and Value In the poem “Mending Wall” Robert Frost wrote, “Good fences make good neighbors”. […]
Table of Contents How Does Bidding Work? How to Successfully Bid a Roofing Project 1. Thoroughly Assess the Roof 2. Understand the Scope of the Job 3. Take Good Measurements 4. Determine Materials Costs 5. Calculate Labor Expenses 6. Add in the Extras 7. Agree On a Clear Timeline 8. Watch Out for Overhead Costs […]