No matter how much you loathed the idea of being in your house all day, this whole pandemic lockdown scenario has made one thing clear for us- our home needs to be more livable. It is not just a place where you sleep, eat or store your belongings; it is a part of you. Your home should be a sanctuary where you can breathe and enjoy life; you shouldn’t feel caged like an inmate. So what do you need to do to make the place where you live more like a “home”? Well, the first thing that comes to your mind might be a comfort. If your home's current setup is not doing much for your comfort, you need to change it.
If you already have some remodeling ideas, the first course of action should be to dismantle the existing setting. And this teardown process involves many stages, but the first one is removing the flooring. Whether you hire a professional or decide on DIY, you need to have a proper understanding of how flooring removal works. Here is a comprehensive guide on how to properly remove flooring.
Different flooring material needs a different approach for removal. The removal time depends on the room size and what material you are dealing with. Here we have explained how to remove common flooring materials.
How to Remove Tiles from Floor
You'll find tile flooring in your kitchen or bathroom. All tile is pretty much the same. You'll be able to remove tiles in both rooms and even tile on your shower with the same method.
Tiles Removal Tools
There are various tools available for tiles removal, both power tools, and manual tools. Depending on the task at hand, you might need to combine different toolsets. Here’s a list of regular tile removal tools that you might need:
Hammer
Scraper
Chisel set
Jackhammer
Pry bar
Screwdriver
Plastic tarp
Bucket and shovel
The tile removal process for tiles is quite simple. Still, it is tiresome and strenuous, especially if you use hand tools. The whole tile removal process can be broken down into five steps:
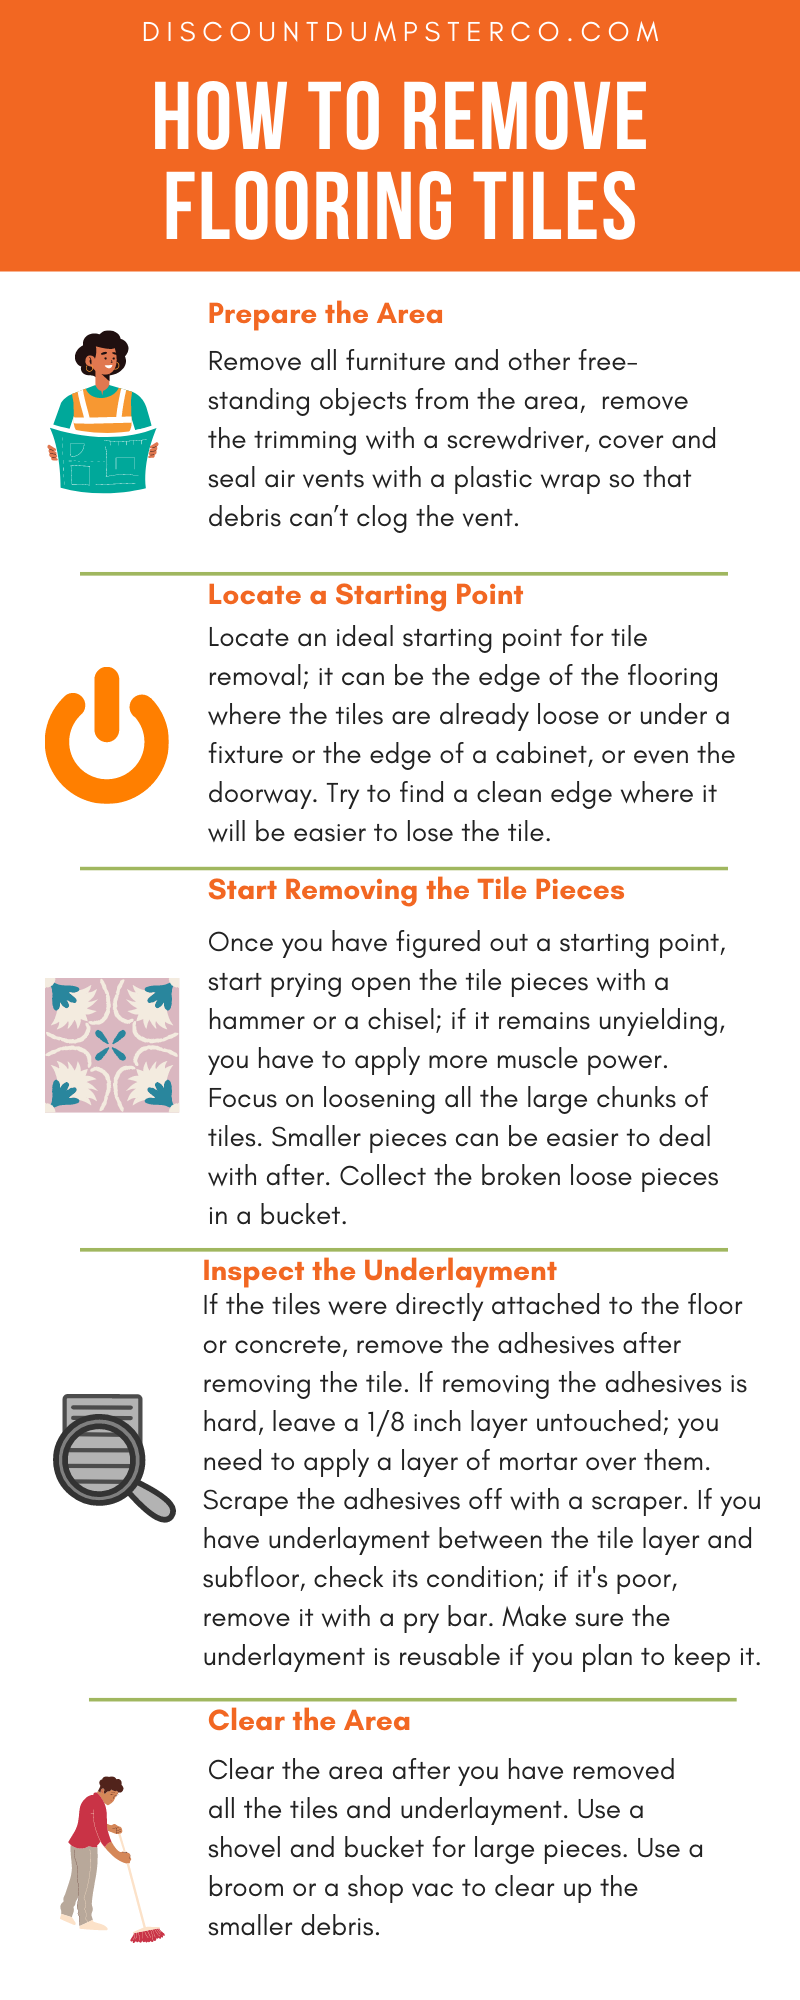
Prepare the Area: Remove all furniture and other free-standing objects from the area, remove the trimming with a screwdriver, cover and seal air vents with a plastic wrap so that debris can’t clog the vent.
Locate a Starting Point: Locate an ideal starting point for tile removal; it can be the edge of the flooring where the tiles are already loose or under a fixture or the edge of a cabinet, or even the doorway. Try to find a clean edge where it will be easier to lose the tile.
Start Removing the Tile Pieces: Once you have figured out a starting point, start prying open the tile pieces with a hammer or a chisel; if it remains unyielding, you have to apply more muscle power. Focus on loosening all the large chunks of tiles. Smaller pieces can be easier to deal with after. Collect the broken loose pieces in a bucket.
Inspect the Underlayment: If the tiles were directly attached to the floor or concrete, you need to remove the adhesives after removing all the tile pieces. However, if removing all the adhesives is hard, you can leave a 1/8 inch thick layer untouched; you need to apply a layer of mortar over them anyway. Scrape the adhesives off with a scraper. If you have underlayment between the tile layer and subfloor, you need to check its condition; if it is in poor condition, you need to remove the underlayment with a pry bar. Make sure the underlayment is reusable if you plan to keep it as it is.
Clear the Area: Clear the area after you have removed all the tiles and underlayment. Use a shovel and bucket for large pieces. Use a broom or a shop vac to clear up the smaller debris.
If your tiles have asbestos as an adhesive material, or even in the tiles pieces, you need to proceed with caution. Asbestos is hazardous for health and banned from use. However, if you are dealing with an older home, built way back in the ’80s, there is a good chance that your flooring tiles have asbestos on them. To determine this get an asbestos test done by an expert. If you need to remove asbestos tile, you must hire professionals for the job.
How to Remove Hardwood Floors
Removing hardwood flooring can be a tough job if you are dealing with really old wood flooring. A hardwood floor can be installed with glue, nail, or both. If yours has a nail and glue installation, it can be difficult to pull them off.
Hardwood Floor Removal Tools
Pry bar: to pull up floor panels
Circular saw: to cut through the floor
Sledgehammer: for difficult areas of the floor
Chisel: to work through tight spaces
Claw hammer: to reap open nails and the parts closer to the wall
Scraper: to scrape the adhesives
Plastic tarps: to cover other parts of the floor
Shop-vac: to remove the debris
There are six steps to this removal process:
Prepare the Area - Remove all furniture, cover the parts that are fixed in place, remove the baseboard trimming near the façade.
Gather Your Tools - Depending on the flooring, you might need to apply tools of different levels of strength. Be sure to keep some basic tools like a circular saw, chisel, and a hammer at hand.
Removing the Baseboard - If the baseboard is placed above the flooring, you need to remove it before you tackle the flooring. If you are removing baseboards with a pry bar, get a small wood block to have some leverage. Place the small block above the baseboard on the wall, then place the pry bar above the block. Slide the flat end of the pry bar under the floorboard and apply pressure on the free end of the pry bar. The woodblock will act as a fulcrum to pull out the baseboard making the job easier, and it will also protect the wall from being scratched.
Cut through The Hardwood - Cut the hardwood floor into several parts with a circular saw. Don’t cut parallel to the wood laying direction; cut in a perpendicular direction. Each part should be about 2 feet to 1 foot for easier handling. While you are at it, make sure the subfloor is kept unharmed.
Remove the Hardwood - Pry open the small sections with a pry bar and a hammer. If you have a clear edge, start the prying process from there; if not, then start from the center of the room. If the hardwoods are nailed down, you need a claw hammer to remove the nails. You might need a little more force to remove the parts connected with the walls.
Clean up the Area - For hardwood removal, cleaning up itself is a lengthy process. Clear the debris with a shop vac. Make sure you clean up the nails properly. Use a magnet to collect all the nails strewn over the floor.
Vinyl and laminate flooring have the same installation and removal process. Although they look similar in appearance and they both are called “imitation” flooring, they don’t have the same material. While vinyl is made completely out of plastic, laminate flooring is composite of natural wood, plastic, and resin.
Here’s the process for vinyl and laminate flooring removal:
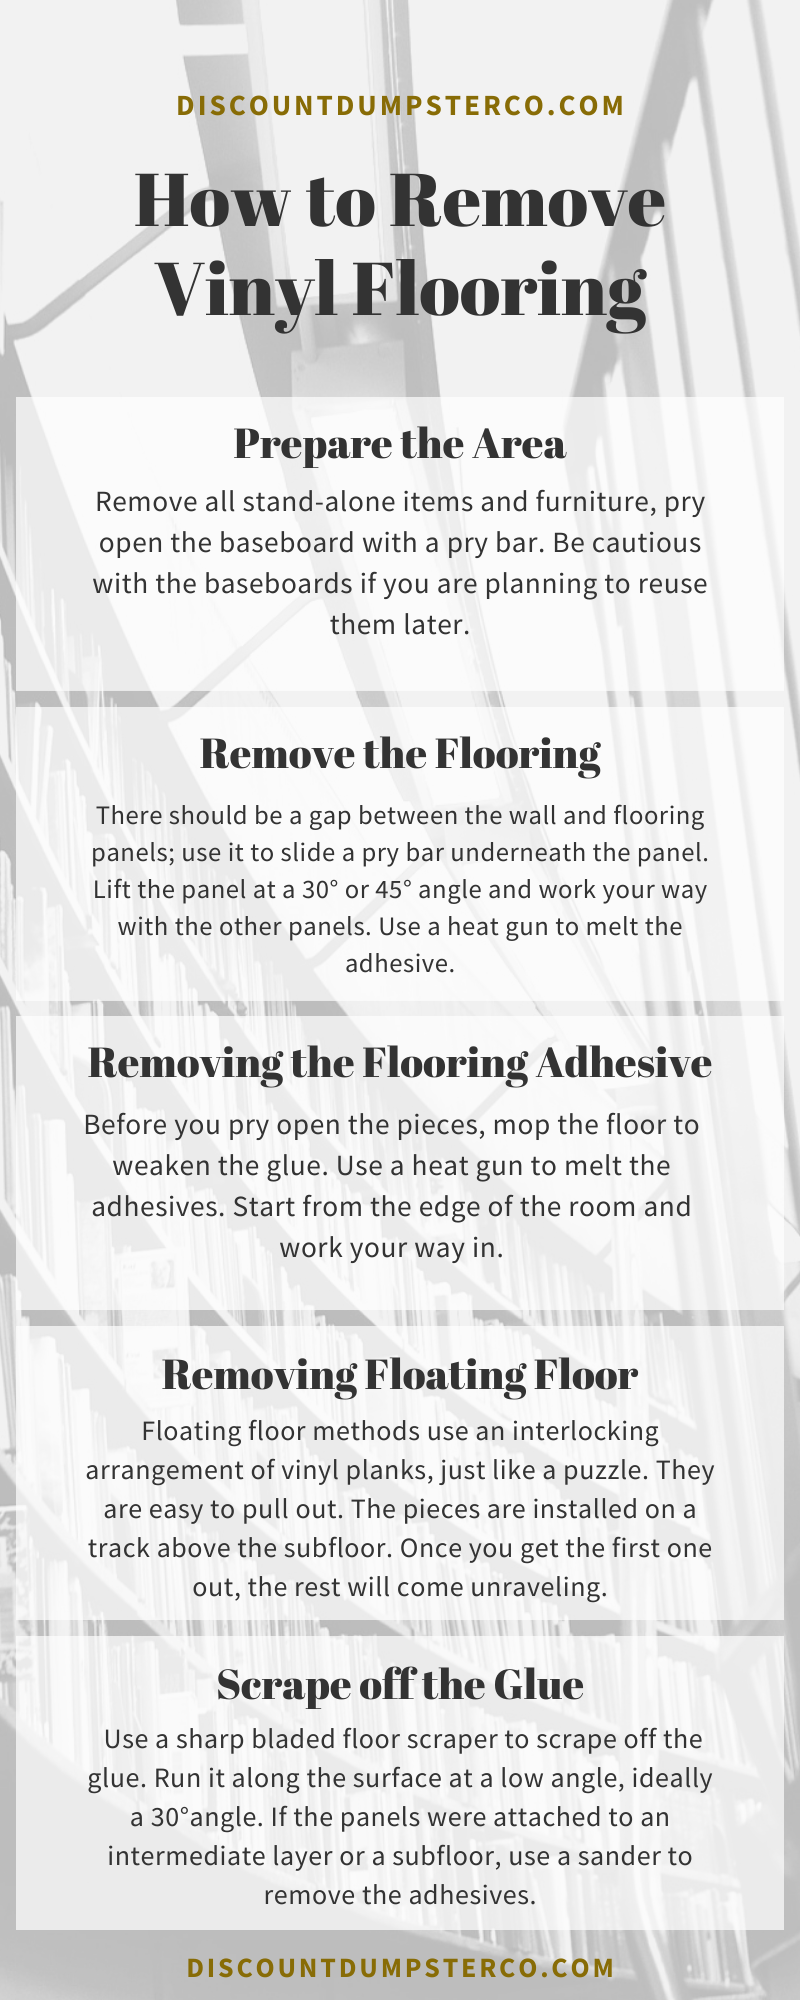
Prepare the Area - Remove all stand-alone items and furniture, pry open the baseboard with a pry bar. Be cautious with the baseboards if you are planning to reuse them later.
Remove the Flooring - There should be some gap between the wall and the vinyl flooring panels in the room; use that space to slide a pry bar underneath the panel. Gently lift the panel at a 30° or 45° angle and work your way with the neighboring panels. Use the heat gun whenever you need to melt the adhesive.
Removing the Flooring Adhesive - Laminate and vinyl flooring can be glued down or installed as a floating floor. For glued down strips, before you pry open the pieces, you have to wet the floor by mopping; this will weaken the glue. Use a heat gun to melt the adhesives. Start from the edge of the room and work your way in.
Removing Floating Floor - Floating floor methods use an interlocking arrangement of vinyl or laminate planks, just like pieces of a puzzle. They are easy to pull out as they don’t have any adhesive securing them to the subfloor. The pieces are installed on a track above the subfloor. Once you get the first one out, the rest will come unraveling.
Scrape off The Glue - If the panels were glued directly over concrete or hardwood flooring, there would be a lot of adhesives for you to remove. Use a sharp bladed floor scraper to scrape off the glue. Run it along the surface at a low angle, ideally a 30°angle. If the panels were attached to an intermediate layer or a subfloor, you need a sander to remove the adhesives.
While linoleum is back in trend, they were also common in most old houses. If the linoleum is a few decades old, check whether it has any asbestos. Linoleum floors are installed over a subfloor with adhesives, similar to vinyl flooring. To remove the adhesives, you need to grasp how to use a heat gun.
Here’s the process for removing linoleum flooring.
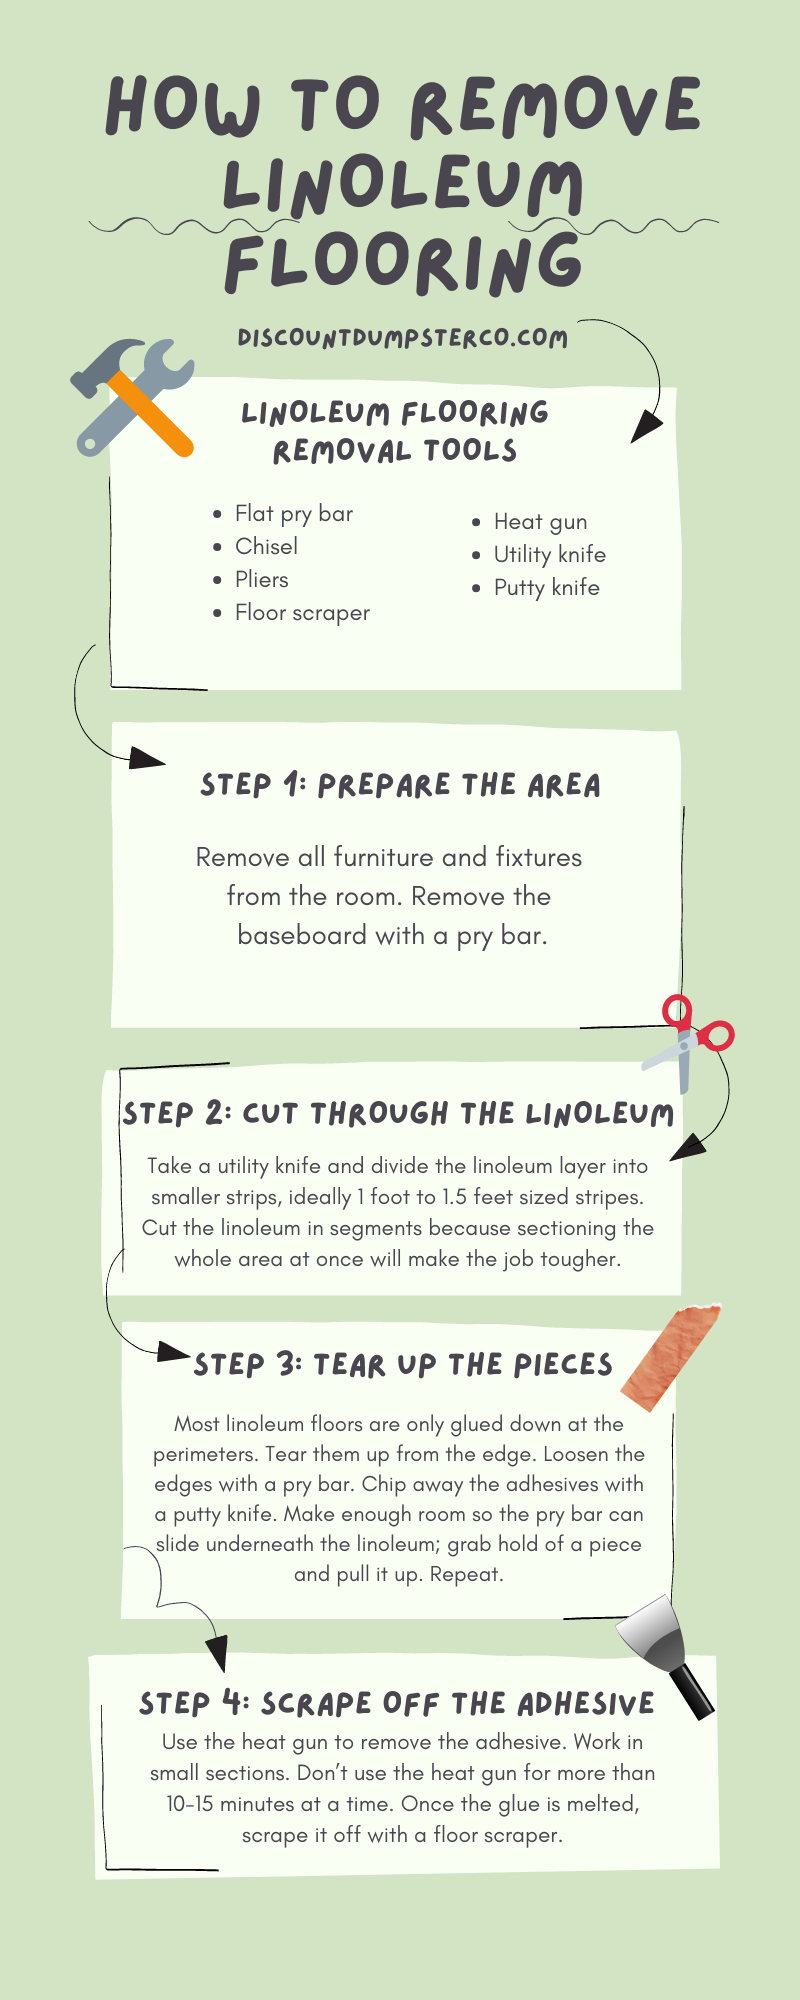
Prepare the Area - Remove all furniture and fixtures from the room. Remove the baseboard with a pry bar.
Cut through the Linoleum - Take a utility knife and divide the linoleum layer into smaller strips, ideally 1 foot to 1.5 feet sized stripes for easy handling. Try cutting the linoleum in segments because sectioning the whole area at once will make the job tougher.
Tear up the Pieces - Most linoleum floors are only glued down at the perimeters. You need to start tearing them up from the edge. Loosen the edges with a pry bar, and then chip away the adhesives with a putty knife. Make enough room so the pry bar can slide underneath the linoleum; once you can grab hold of a piece, pull it up. Repeat the process to get them all out.
Scrape off the Adhesive - Once all the linoleum pieces are out, you need to use the heat gun to remove the adhesive. This is a tedious process, and you need to work in small sections. Make sure you don’t use the heat gun for more than 10-15 minutes at a time. Once the glue is melted, scrape it off with a floor scraper.
Removing carpet flooring might be the easiest of all. If you don’t plan on reusing the carpet, you can simply cut it away from the floor.
Carpet Flooring Removal Tools
Pry bar
Hammer
Utility knife
Duct tape
Pliers
Here are the different processes for carpet removal:
Pulling up Carpet
Use pliers to pull up a corner from the carpet strips. Pull along the edge of the carpet towards you. Once you have pried it from the strip, roll it up.
Removing Carpet from Hardwood Floor
Select a corner of the room and start pulling up. If the carpet is held in place with a carpet strip, you need to cut along the strips. You will find the strips about a few inches from the wall. With the help of pliers to pull up the edge, you might have to use force if the carpet is heavy. Once you have rolled a certain amount, roll it up and work with the other end.
Removing Carpet from Concrete
In most cases, the carpet is usually glued down if the floor underneath is concrete. If that is the case for you, you need to remove the carpet first, use the usual pliers and pull method to remove the carpet. Then remove the remaining adhesive in the following method.
Removing Carpet Glue
If the carpet padding is glued to the floor, you need to remove the glue. First, you need to mop the floor with warm water. Then use a floor scraper to scrape off the adhesive. You can sand the floor for a better result.
After removal, you can either recycle or dispose of the material. While carpet, linoleum, or vinyl can be reused, tile pieces have to be disposed of. If you want to recycle wood flooring, you can bring them over to your local or state level recycling plant. Roll up the materials that you want to dispose of or recycle and store them accordingly.
Renting a Dumpster for Disposal
Removing old flooring does produce a lot of disposals; your regular dumpster might not even cut it. Once you start tearing everything down, you might find it overwhelming to see how big of a mess it creates. Besides, if you need to empty out your trash can every few hours, you will lose the momentum of your actual flooring removal work.
For a swift execution of your floor removal project, you can rent a dumpster. Park the rented dumpster outside your home on the day you decide to carry on the flooring removal and clear all the dirt and debris right away.
How to be Safe When You're Removing Old Flooring
Use protective gears such as gloves and eye protectors while you are undertaking any type of floor removal.
Use knee pad, as a lot of the floor removal task involves kneeling on the floor
While using a heat gun, make sure you keep it away from inflammable materials.
If you are using heavy-duty tools like a sledgehammer, make sure the utility lines running underneath the floor (if there is any) remain unharmed.
The Bottom Line
Removing any old flooring can be a time-consuming and laborious process. be it tile or vinyl flooring material. If you have the right tools and techniques, flooring removal is not too complicated. In case you don’t have a specific tool at hand, you can always rent it. In most cases, you might not even need complete flooring removal for a renovation project. However, laying new flooring over the existing flooring layer increases your flooring thickness and reduces the clear height of your space. So before you get on with flooring removal, have a clear vision of how you want to remodel the home.
Table of Contents Why Build a Privacy Fence? Top 7 Privacy Fence Ideas 1. Wooden Fence 2. Metal Fencing 3. Bamboo Fence 4. Vinyl Fence 5. Chain-Link Fencing 6. Brick or Concrete Fence 7. Natural Fence Privacy Fences Add Utility and Value In the poem “Mending Wall” Robert Frost wrote, “Good fences make good neighbors”. […]
Table of Contents How Does Bidding Work? How to Successfully Bid a Roofing Project 1. Thoroughly Assess the Roof 2. Understand the Scope of the Job 3. Take Good Measurements 4. Determine Materials Costs 5. Calculate Labor Expenses 6. Add in the Extras 7. Agree On a Clear Timeline 8. Watch Out for Overhead Costs […]