Whether you're new homeowners and you’ve just moved into a new house or you’ve decided it’s time to renovate, you’re going to save a ton of money by knowing how to remove hardwood floors yourself. The oak hardwood flooring my mom had in her home were old, worn, and needed to be replaced. She’s an aspiring interior designer, so there was no hesitation in the decision to pull the hardwood flooring up and install newer and more tasteful wood. Of course, I worked with her on planning the entire removal and replacement of her beloved floors, although no one had shown me the process of hardwood floor removal.
All said and done, the wood floors removal project came out a success. It wasn’t as difficult as we initially expected. The preparation and tools were essential to making the process as smooth as possible. If you are looking for the best results when removing a section or your entire hardwood flooring in your home, use this blog post and guide to make your job easier. We've broken it down to five easy steps for wood flooring removal in homes.
First, let’s go over essential tools to remove hardwood flooring to get your home DIY project done.
Tools:
Hammer
Pry bar
Circular saw (w/ extension cord and sharp saw blade)
Those are the essential tools to remove your hardwood floors and boards. Later, I’ll mention some additional tools to make the process even easier. But first, let’s look at the preparation you’ll take before the floorboards actually start coming up.
If you are only removing a section of wood flooring, measure and outline the length of the area.
You know the old adage, “Measure twice, cut once.” Marking doesn’t matter so much if you are removing the entire wood flooring in a room or house, unless you feel the need to segment your work.
Clear Space
Unless you have experience removing hardwood flooring in your home, you would not expect the amount of saw dust and wood chips that will cover you and anything else in the room. You should have a mask and glasses to protect yourself.
Don’t forget to protect your furniture as well! Clear out the objects in the room. All objects that can’t be moved should be covered in tarp and tape. Any electronics should be completely out of the room to avoid possible damage before you remove hardwood flooring. Cover any flooring, wall, or ceiling vents.
Basically, cover everything. It will make clean up way easier and keep you and your property safe.
Baseboards
Don't overlook this step to remove hardwood flooring. You could unintentionally damage your walls, and they never did anything wrong. Run a razor blade along the top of the baseboard. Be sure to cut through the paint layers. From here, you can use your pry bar to pull the baseboards out, but a trim puller is made specifically to apply broad and even pressure to avoid breaking the board. A pry bar or vice grips could potentially break the board. This is important if you’re planning to keep your baseboards.
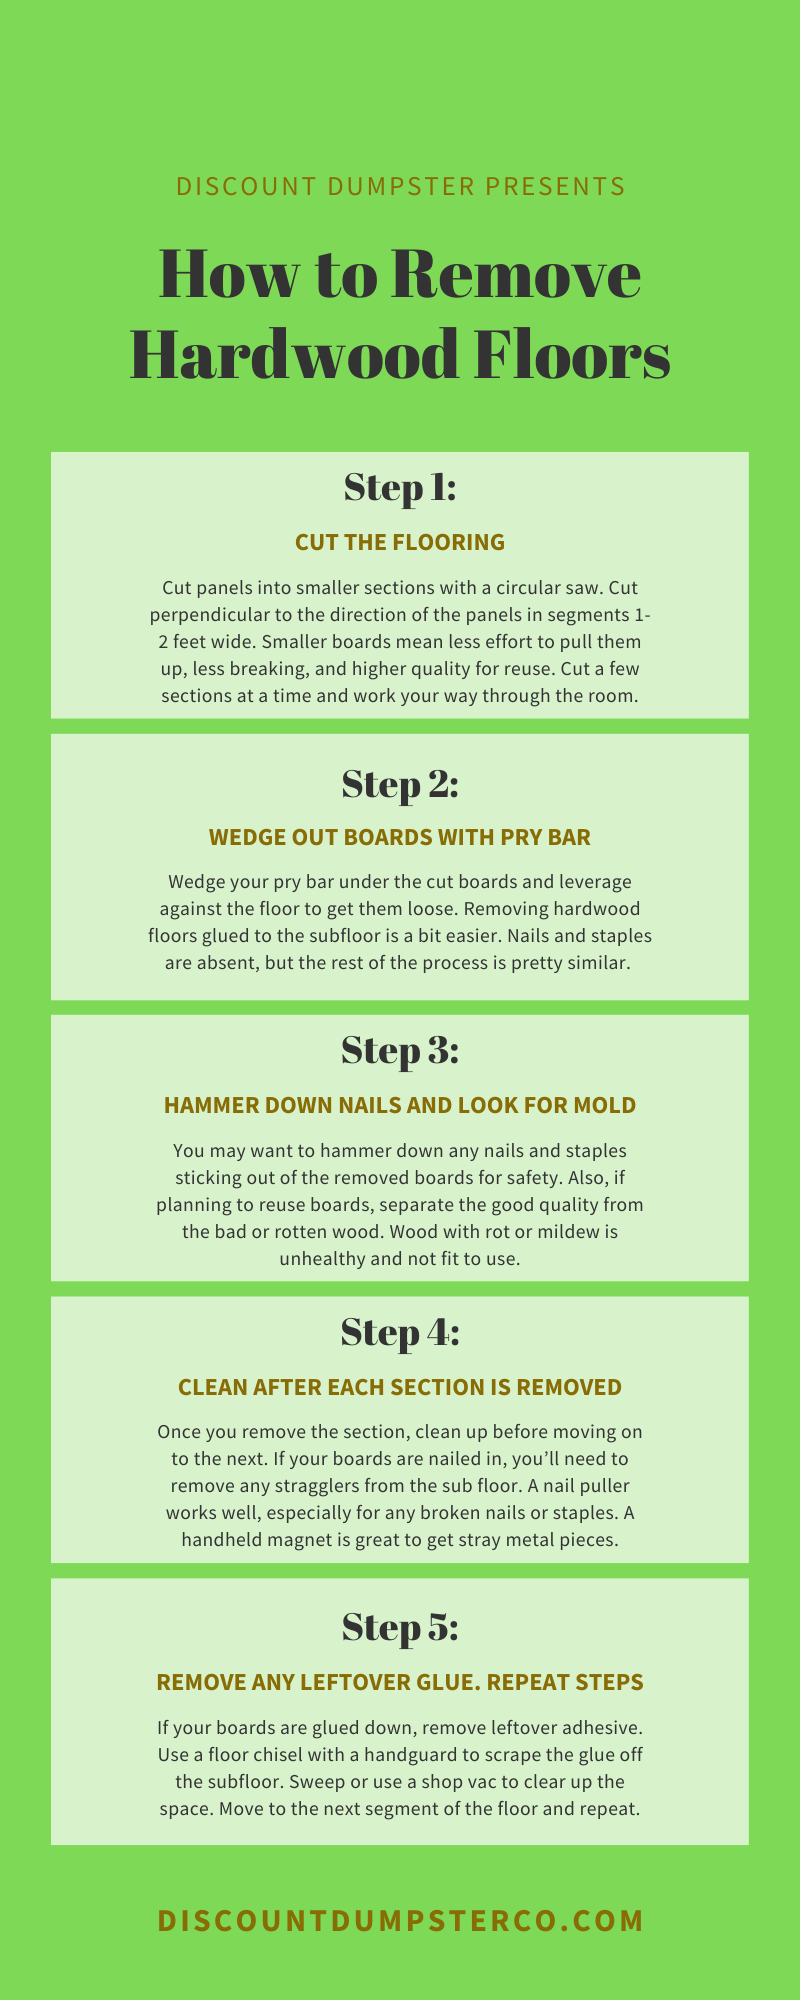
The easiest way to remove your wood floors involves cutting the floor panels into smaller parts. If you are looking to reuse the hardwood flooring, smaller sections ensure the panels don’t snap and splinter as they are pulled up. Even if you plan to toss the wood in a dumpster, splintered wood makes the project dangerous.
Set your saw to the correct depth so you don’t damage the subfloor underneath the wood. For example, if your floor panels are 5/8-inch thick, you should set your saw to 5/8-inch height.
We’ve got our area clear and ready. The scene is sealed off and baseboards are safely removed. Our safety gear is on and tools are ready for use. Let’s look at the fastest way to remove hardwood floors.
To get started, pick a direction and cut the panels into smaller length sections with a circular saw. Cut perpendicular to the direction of the panels in segments between 1-2 feet wide. Smaller boards mean less effort to pull them up, less breaking, and higher quality for reuse.
Don’t cut the entire floor in case you don’t finish in one go. Cut a few sections at a time and work your way through the room.
Step 2: Wedge out Boards with Pry Bar
Wedge your pry bar under the cut boards and leverage against the floor to get them loose. Don’t pull directly up until it’s loose; you’ll wear out your back.
Removing hardwood floors glued to the subfloor is a bit easier. Nails and staples are absent, but the rest of the process is pretty similar.
Take each piece of wood and toss it in your dumpster rental.
Step 3: Hammer Down Nails and Look for Mold
You may want to hammer down any nails and staples sticking out of the removed boards for safety.
Also, if planning to reuse boards, separate the good quality from the bad or rotten wood. Wood with rot or mildew is unhealthy and not fit to use.
Step 4: Clean up Area
Once the section you’ve cut up is removed and the piece of hardwood planks has been thrown in a dumpster, clean up a bit before moving on to the next segment. If your boards are nailed and stapled in, you’ll need to remove any stragglers from the sub floor. You can use the fork end of a hammer. A nail puller works well, especially for any broken nails or staples. The handheld magnet is a lifesaver to pick up all the stray metal pieces on the ground.
Step 5: Removing Flooring Adhesive
If your boards are glued down, there will be left over glue that needs to be removed. Use a floor chisel with a handguard to scrape the glue off the subfloor for the new hardwood flooring you’ll install. Sweep or use a shop vac to clear up the space. Now you’re ready to move on to the next segment of the floor and repeat.
Start again: Cut up the next segment of wood with the circular saw, pull the boards up, and clean as you go. Repeat the process until the designated area of the flooring is pulled up. Once the floor is clear, hit it with one more sweep with the magnet for nails and shop vac for another cleaning. Throw away the wasted material and keep the good stuff. Grab a lemonade and take a break, you’ve earned it!
Final Hardwood Removal Tips
Now that you know the process of removing hardwood flooring, whether it’s glued or nailed down, you can start planning your own project. Here are a few things to keep in mind before you set off to tear up your flooring.
Don’t push yourself to complete the project in one day if it makes more sense to split it up into several days. My mom's project was 600 square feet. We worked about 2 hours a day and finished the job in 5 days.
Use a bag when collecting your wood, nails and staples in your home so the disposal is quicker and there is less chance of being poked or cut. You may end up with more debris than initially anticipated, so think about renting a small dumpster to make clean up one easy step.
Table of Contents Why Build a Privacy Fence? Top 7 Privacy Fence Ideas 1. Wooden Fence 2. Metal Fencing 3. Bamboo Fence 4. Vinyl Fence 5. Chain-Link Fencing 6. Brick or Concrete Fence 7. Natural Fence Privacy Fences Add Utility and Value In the poem “Mending Wall” Robert Frost wrote, “Good fences make good neighbors”. […]
Table of Contents How Does Bidding Work? How to Successfully Bid a Roofing Project 1. Thoroughly Assess the Roof 2. Understand the Scope of the Job 3. Take Good Measurements 4. Determine Materials Costs 5. Calculate Labor Expenses 6. Add in the Extras 7. Agree On a Clear Timeline 8. Watch Out for Overhead Costs […]