When we moved into our current home, there was a tiny kitchen and dining room, separated by a couple of interior walls. I made a deal with my husband. If those walls could be removed, then I would be happy to put an offer on the home. He assured me that he could take care of the problem. We became the proud owners of a house with a cramped kitchen and dining area.
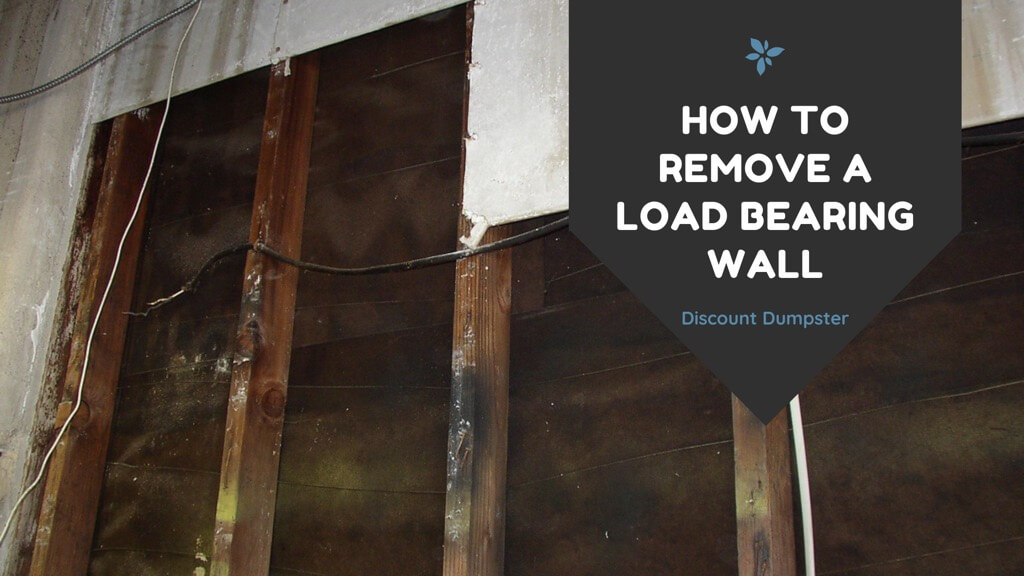
But when it came to finally start the work, I was hesitant. Removing the wall felt a bit scary to me. After all, it was holding up the house, wasn’t it? Demoing a load bearing wall is one of the more ambitious projects a DIY homeowner can take on. It is important to ensure that the wall can actually be removed without any harm to the structure of the home. Accidentally demolishing a load bearing wall without proper supports in place can cause extensive damage to your property.
“Removing a load bearing wall could obstruct the integrity of your foundation or even worse, it could bring down the house.”
But with some good advice and proper planning, removing a load bearing wall can be a great DIY project.
Here's our guide on how to remove a load bearing wall:
What is a Load Bearing Wall?
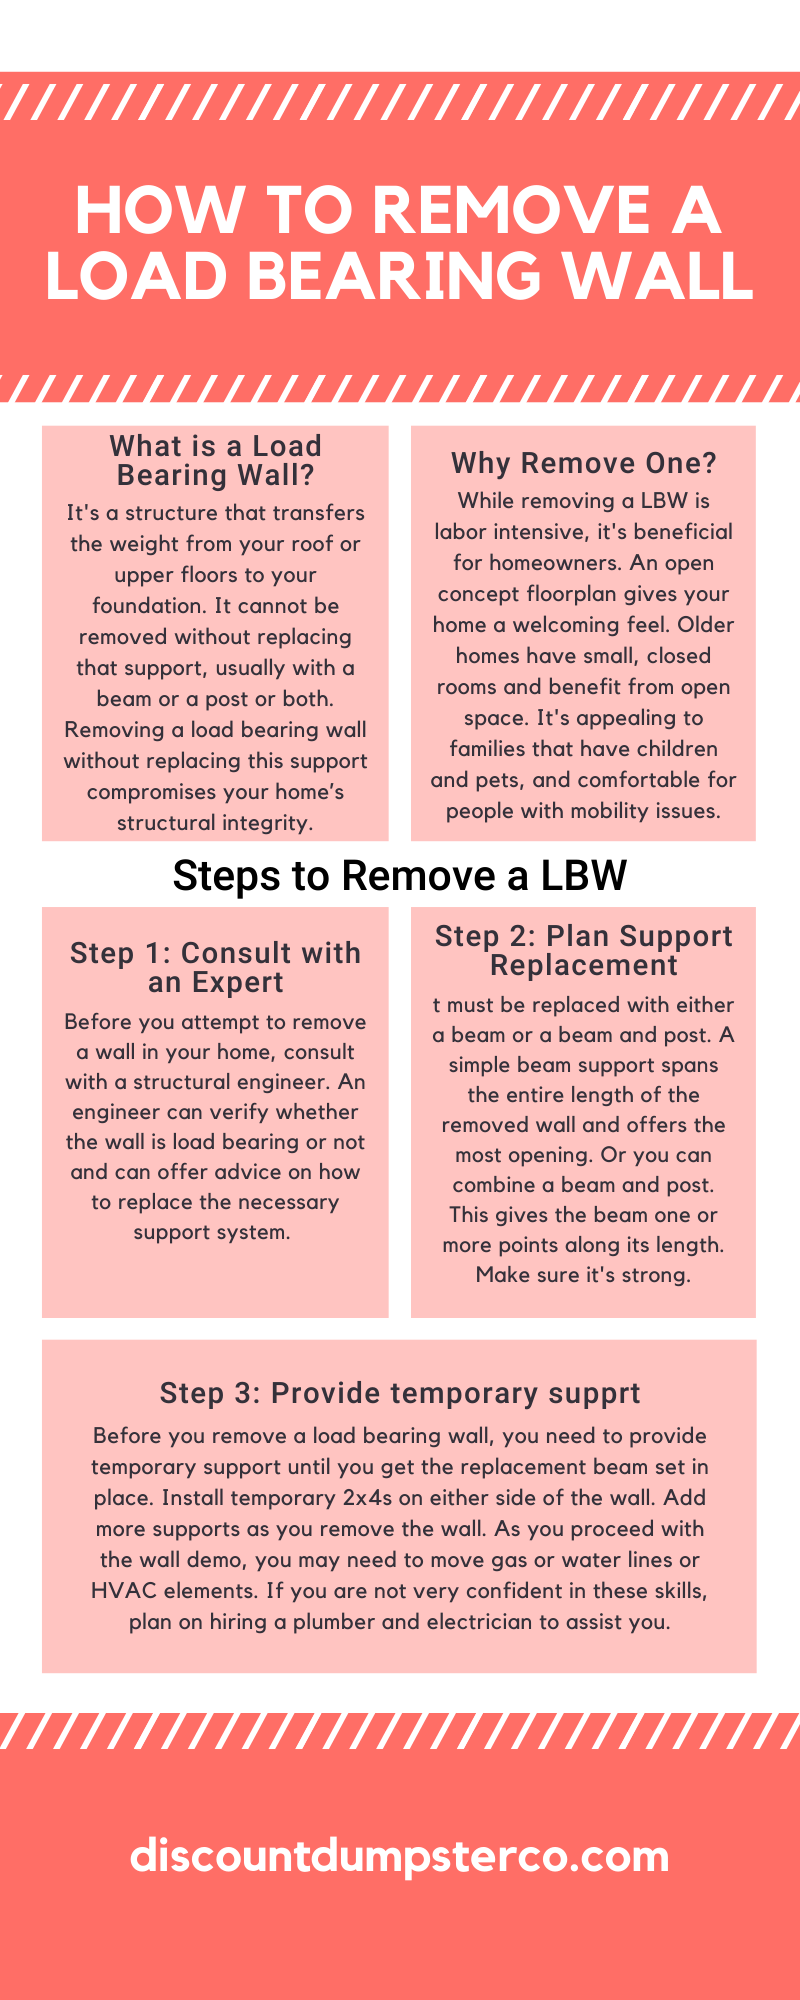
A load bearing wall is an exterior or interior structure that transfers the weight from your roof or upper floors down to your foundation. If a wall is load bearing, it cannot be removed without replacing that support, usually with a beam or a post or both. Removing a load bearing wall without replacing this support compromises your home’s structural integrity.
Why Would You Remove a Load Bearing Wall?
While removing a load bearing wall is time and labor intensive, there are some real benefits for a homeowner. An open concept floorplan gives your home a welcoming and light feel. Older homes often have small, closed rooms. They benefit in particular from creating open space. Open floor plans are appealing to families that like to entertain or have active children and pets. They are also more comfortable for people with mobility issues.
“It’s no surprise that opening up a floor plan has been a common remodeling inquiry for the last few years.”
How to Tell if a Wall is Load Bearing
In general, you can tell a wall is load bearing by examining the floor and ceiling joists. You can see floor joists from underneath the wall. These would be accessed through a crawl space or basement access. If there is a large beam under the wall area, this could indicate a load bearing wall.
Spliced ceiling joists that meet together atop the wall mean it is load bearing. These spliced boards need to continue to support the weight above it. A structural load bearing wall has angled struts supporting the roof or it can have joists running perpendicular above it. In a home with two or more stories, walls stacked directly on top of each other are typically load bearing. And all outer walls of a home are load bearing.
Before You Start, Find out if There's Asbestos
In homes built before 1990, there could be asbestos in the building materials used. If you are unsure, plan on getting the drywall and insulation tested before proceeding. If asbestos is found, you will want to hire a professional removal team.
Do You Need a Permit to Remove a Load Bearing Wall?
Most permitting authorities allow homeowners to proceed with wall removal projects. You will need a permit to start work. Make sure you understand local building code requirements. You may be required to submit plans for support replacement. In some localities, a structural engineer may need to approve your plans. You will also need to pass inspections at points during the wall demo. If there will be electrical or plumbing work, then these would also have to be included in your permit. You can get information about specific requirements from your city or county building division.
How Do You Remove a Load Bearing Wall in Your Home?
Step 1: Talk to a structural engineer
Before you attempt to remove a wall in your home, consult with a structural engineer. An engineer can verify whether the wall is load bearing or not and can offer advice on how to replace the necessary support system. Paula Higgins, chief executive of HomeOwners Alliance advises,
“If your home improvements affect the stability of your home, you’ll likely need a structural engineer.”
Having a structural engineer advise us was very reassuring. The person we hired was able to go over our plans and approve them for our permit application. His one-hour visit was only a couple hundred dollars, but worth every penny.
Step 2: Plan the support replacement
Remember, the support needs to be replaced. You can't just remove the wall. It must be replaced with either a beam or a beam and post. A simple beam support spans the entire length of the removed wall. It offers the most opening. Or you can combine a beam and post. This gives the beam one or more points along its length. Whichever system you choose depends on:
How you want the room to look
How much open space you want
The ease of installation you desire
Your replacement support beam should be strong enough for the structural load it will bear. Options include using a solid lumber beam, layered built-up beams, or a laminated veneer lumber (LVL) beam.
Non-architectural LVLs, meant to be installed within walls, are a strong and affordable solution. If you have a very wide opening or don’t have much room to work with, consider a steel beam. Note these do cost more than wood options.
Step 3: Provide temporary support
Before you remove a load bearing wall, you need to provide temporary support until you get the replacement beam set in place. Install temporary 2x4s on either side of the wall. Add more supports as you remove the wall.
As you proceed with the wall demo, you may need to move gas or water lines or HVAC elements. If you are not very confident in these skills, plan on hiring a plumber and electrician to assist you.
Enjoy the Final Product
Removing an interior wall has a dramatic effect on the look and feel of a home. In our case, it opened up our whole main living area, allowing us to complete a kitchen/dining/living area that is perfect for entertaining. It lets in more light. It's more welcoming and comfortable for guests. Although it took some planning and work, it gave us the bang for our buck we were shooting for. Any homeowner with a good variety of DIY projects under their belt should consider removal of load bearing walls without fear.
Table of Contents Why is Window Removal Necessary? More Energy Savings Greater Comfort and Security UV Protection Increased Home Value How to Remove Windows Properly 1. Inspect Your Windows 2. Remove the Sash Weights and Stops 3. Remove Paint 4. Repair Any Cracks 5. Prepare the Surface 6. Install Flashing Tape 7. Install the Window […]
Table of Contents What is Xeriscaping? Top 7 Xeriscaping Ideas on a Budget 1. Design with Mulch 2. Xeriscape with Paver Walkways 3. Low-Maintenance Rock Gardens 4. Plant Succulents in Containers 5. Shift Towards a Rain Garden 6. Add a Rainwater Recycling System 7. Use Drip Irrigation Help Conserve Water by Xeriscaping Xeriscaping ideas offer […]