When my husband and I decided to remodel our master bathroom, we started with our old bathroom first for practice. We didn't want to go through the time consuming process of finding a contractor. Instead, we pulled out the DIY playbook and did it ourselves. The hard work paid off. It turned out to be an easy and fun DIY project, and we got to save a little money doing it.
Here's how we did it. Read the following blog on how to demo a bathroom to get you ready for a bathroom remodel! Hopefully you can avoid some DIY mistakes along the way.
Let's get started on your bathroom renovation. Here's how to demo a bathroom.
Plan the Scope of Your Project
Decide exactly what you want to accomplish with your DIY bathroom demolition. Are you just replacing the vanity and lighting, the tub or toilet, or are you doing a complete remodel? We were doing a complete remodel, so everything had to go. You may need to remove the towel bars, medicine cabinet, mirror, light fixtures, shelves, and shower curtain rod.
Tools You May Need
Screwdrivers: Phillips and flathead
Crescent wrench
Channel locks
X-acto knife
Putty knife
Wire brush
Pry bar (0ften called a red bar)
Claw hammer
Shop vac
Set of Allen wrenches or hex keys
Possibly an oscillating multi tool
Possibly a reciprocating saw
Thinset removal blade
New wax ring for toilet
Gloves, mask, and safety glasses
It’s a good idea to turn off the water to the entire house especially if you’re doing a demo of shower tiles. You never know what is behind those walls. You don’t want to hit copper pipe or electric wiring.
If you’re not doing a complete bathroom demo, turning off the water supply may be enough.
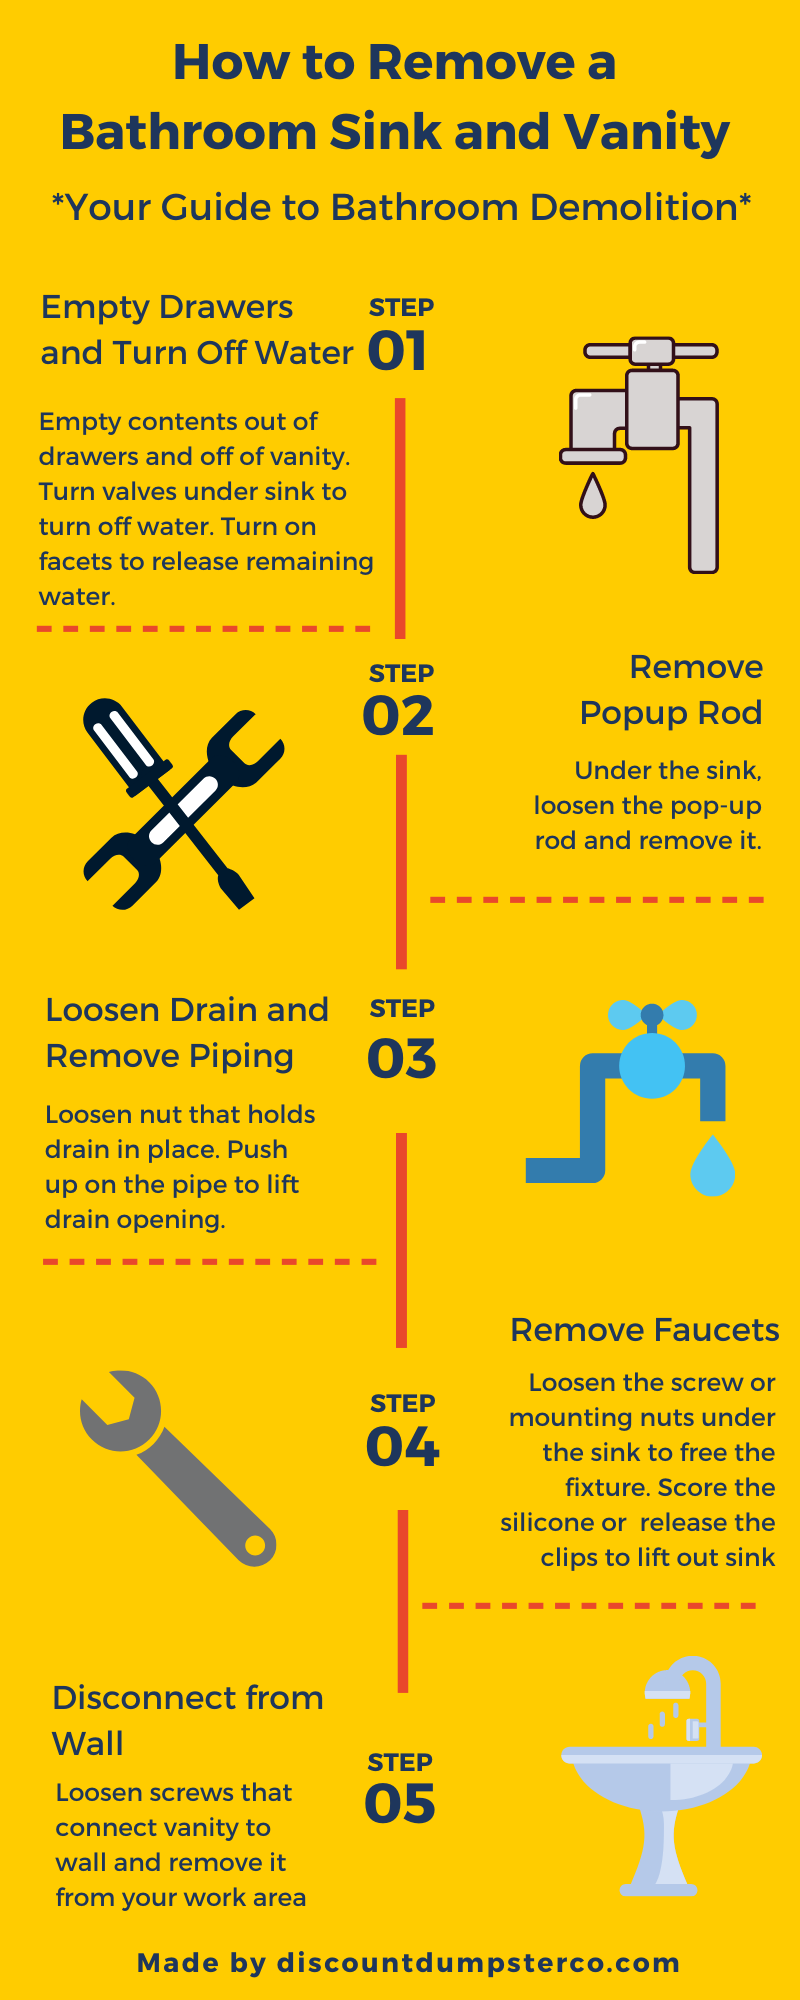
The first step is removing all the contents of your vanity.
Disconnect the water by turning the valves.
Turn on the faucets to let the last of the water run out.
Under the sink, loosen the pop-up rod and remove it.
Loosen the locking nut that holds the sink drain assemble in place.
Push up on the pipe which will raise the circular flange that surrounds the drain opening. You should be able to unscrew this with your hands. Then loosen and remove the piping and P-trap under the sink.
Next remove the faucets. Depending upon the type you have, you will either find a set screw or you will loosen the mounting nuts under the sink to free the fixture. You may find that your sink has silicone or clips holding it to the countertop. If so, score the silicone or release the clips and lift it out .
Remove the screws that fasten your vanity to the wall and remove it from your work area.
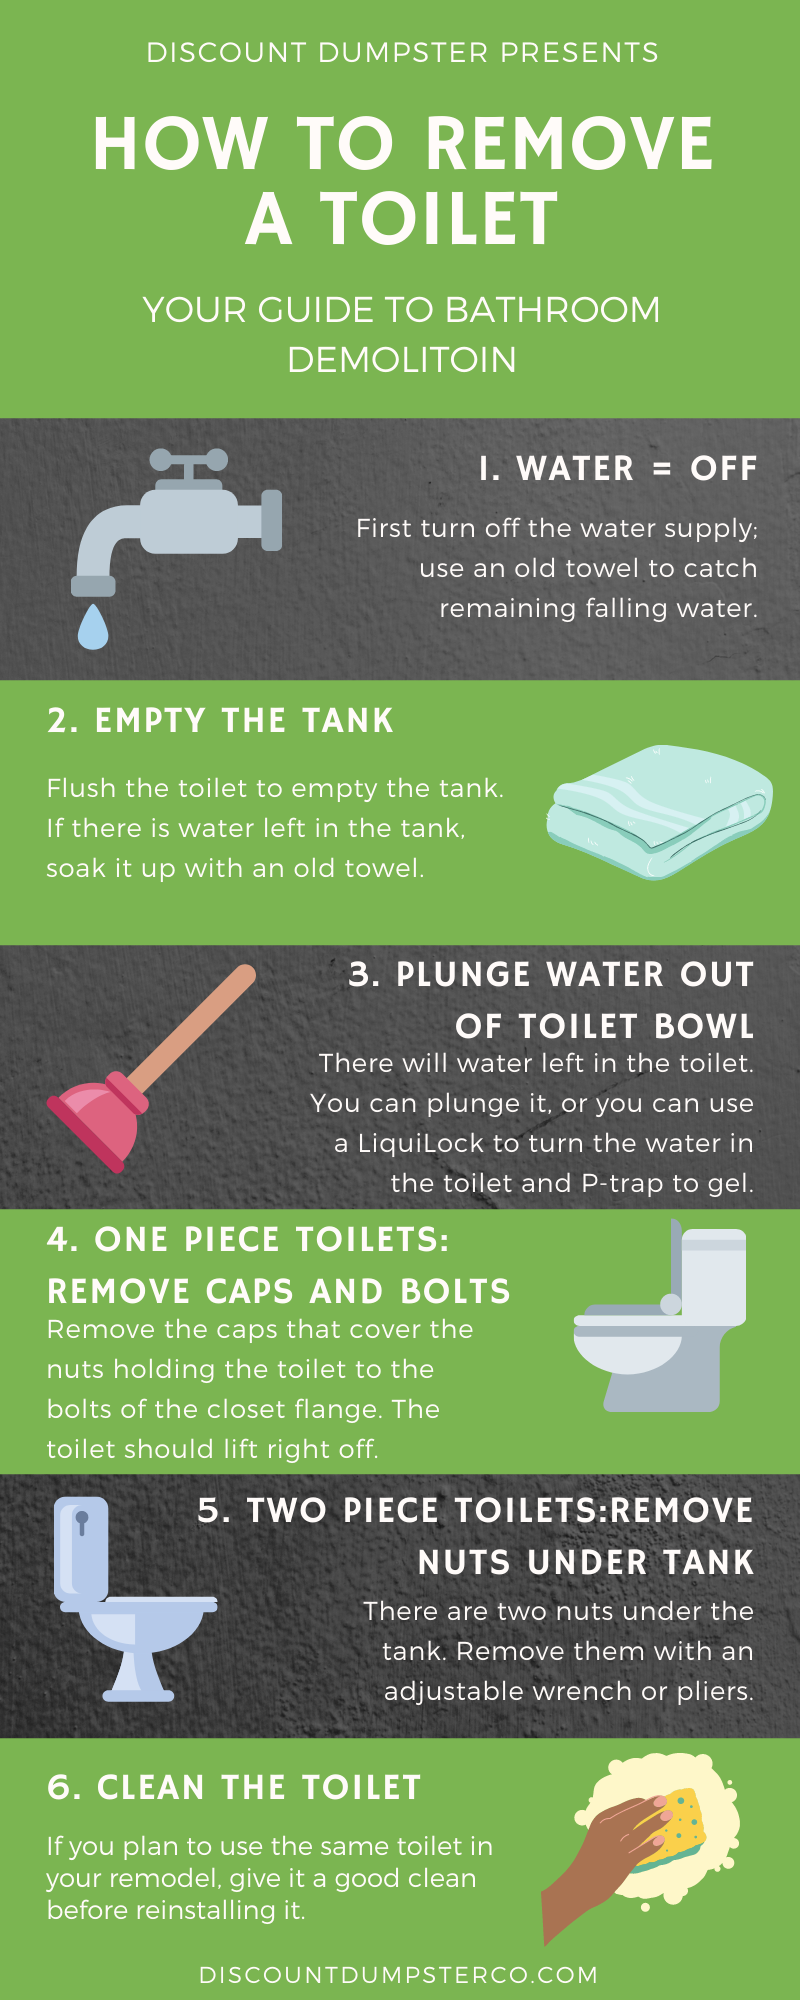
Removing the bathroom toilet is easy. First turn off the water supply; use an old towel to catch a little water.
Flush the toilet to empty the tank. If there is water left in the tank soak it up with a big sponge or old towel – it’s clean water.
There may be some water left in the toilet even after you flush. You can plunge as much of it as you can, or you can use a product called LiquiLock which will turn the water in the toilet and P-trap to gel in about five minutes. It is available at most hardware stores.
If your toilet is one piece, remove the caps that cover the nuts holding the toilet to the bolts of the closet flange at the toilet base. The toilet should lift right off.
If your toilet is two pieces and the tank is separate, there are two nuts under the tank. Remove them with an adjustable wrench or pliers.
If your toilet is in good shape, free of problems, and you plan to use the same toilet in your remodel, give it a good cleaning before reinstalling it.
Once the toilet is free, the wax ring and closet flange will look pretty gross. Clean off the wax with a putty knife, wire brush, or cloth soaked with mineral oil. Stuff a thin rag in the drain opening to prevent sewer gases from leaking.
This video will show you how to remove your toilet easily:
There are many different types of floor tile, and you may have tile over vinyl. Using a regular hammer, break up the floor tile. Small chips can splinter, so use safety glasses.
You can use a chisel to chip away at the bonding and get down to the plywood that is over the subfloor. Clean up as you proceed, taking each broken tile to the trash.
If the plywood is in not in good condition, you will want to replace it. Remove the screws that hold it to the subfloor and tear it up in sections.
Using a shop vacuum, clean up the entire area.
If the plywood is in good condition, make sure it’s level. You can purchase a leveling compound if needed so the new tile will go in easily and the grout won’t crack.
If you’re replacing shower tile or a shower surround in your house, it doesn’t have to be a difficult job.
Break the silicone seal at the edges where the shower tile meets the tub, wall, and ceiling with an X-acto knife.
You can fracture the tile using a regular claw hammer. Use a light touch. You don’t want to damage and pipes or electrical wiring behind the drywall.
Be sure to wear gloves and safety glasses. Some shower tile has a razor sharp glaze on it.
Once you get an edge loose, use a pry bar to loosen and remove the rest of the tiles in pieces.
Here is a video that shows you an easy way to remove the tile:
How to Remove a Bathtub
First remove the faucet. With a flat head screw driver, pop off the index tab or both of them if you have a hot and a cold handle.
Remove the screw inside. There may be one or two screws on the face plate.
Remove the screw under the spout. The spout will either just pull off or screw off depending on your brand and the age of the plumbing.
How to Remove a Bathtub and Shower Drain
Remove the stopper. If it doesn’t come right out, there may be a screw on the stopper to remove.
The actual drain assembly can be removed with a special drain removal tool. You can also insert needle nose pliers into the drain and turn it counter-clockwise.
Once all the hardware has been removed, rock the tub toward you. If it’s heavy, you may need help. The idea is to get it on its side so you can either pull it straight out or rotate it a little in order to remove it. Remember, the tub may have been installed before the bathroom door was put on, so you might need to take off the door in order for the tub to fit through the doorway.
If you have a fiberglass tub and surround, here is a video on how to demo the tub and surround in your bathroom:
Disposing of Materials When You Demo a Bathroom
Instead of taking your bathroom renovation waste to your trash can or letting your mirror sit in your garage for months, your best option is getting a dumpster rental for the bathroom demo. You can easily carry debris into the dumpster by opening the door at the backend of the rental. You can also get rid of the material by tossing it over the low wall.
When your finished with your bathroom demo work, a driver will pick up your rental and take it to the dump.
Table of Contents Why Build a Privacy Fence? Top 7 Privacy Fence Ideas 1. Wooden Fence 2. Metal Fencing 3. Bamboo Fence 4. Vinyl Fence 5. Chain-Link Fencing 6. Brick or Concrete Fence 7. Natural Fence Privacy Fences Add Utility and Value In the poem “Mending Wall” Robert Frost wrote, “Good fences make good neighbors”. […]
Table of Contents How Does Bidding Work? How to Successfully Bid a Roofing Project 1. Thoroughly Assess the Roof 2. Understand the Scope of the Job 3. Take Good Measurements 4. Determine Materials Costs 5. Calculate Labor Expenses 6. Add in the Extras 7. Agree On a Clear Timeline 8. Watch Out for Overhead Costs […]